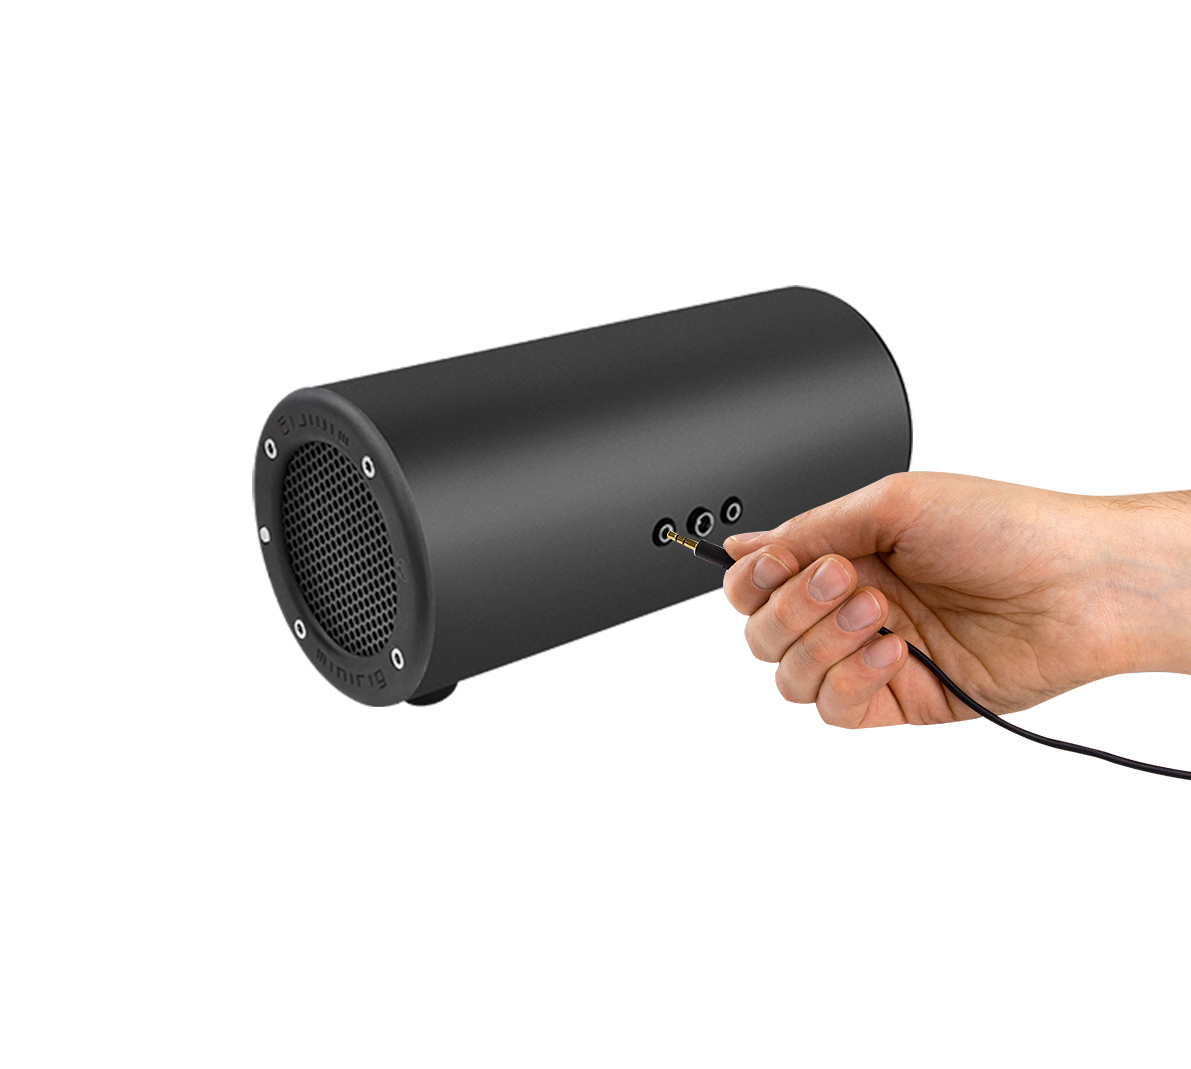
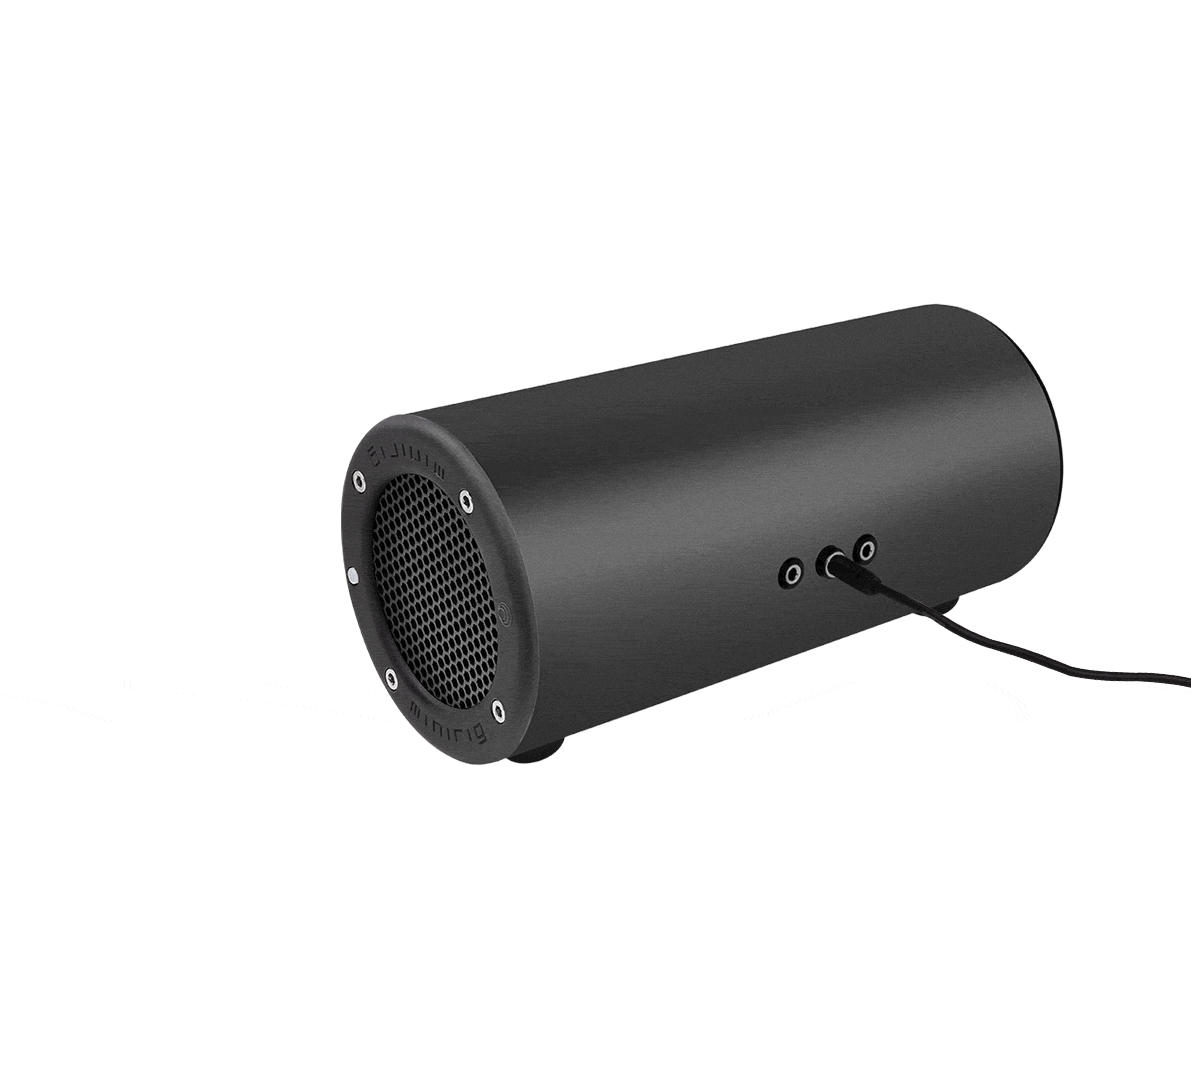
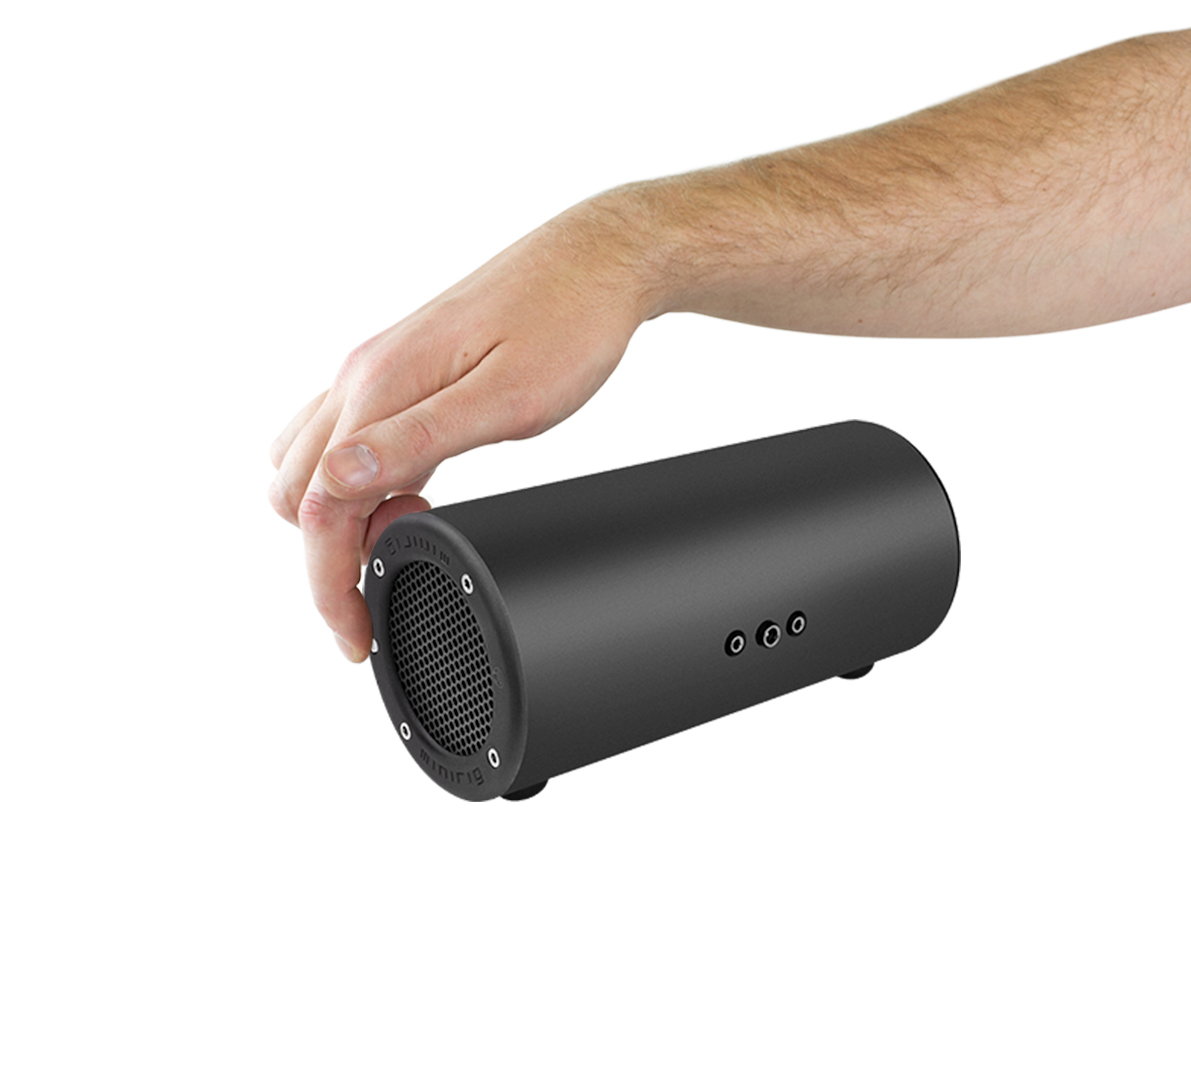
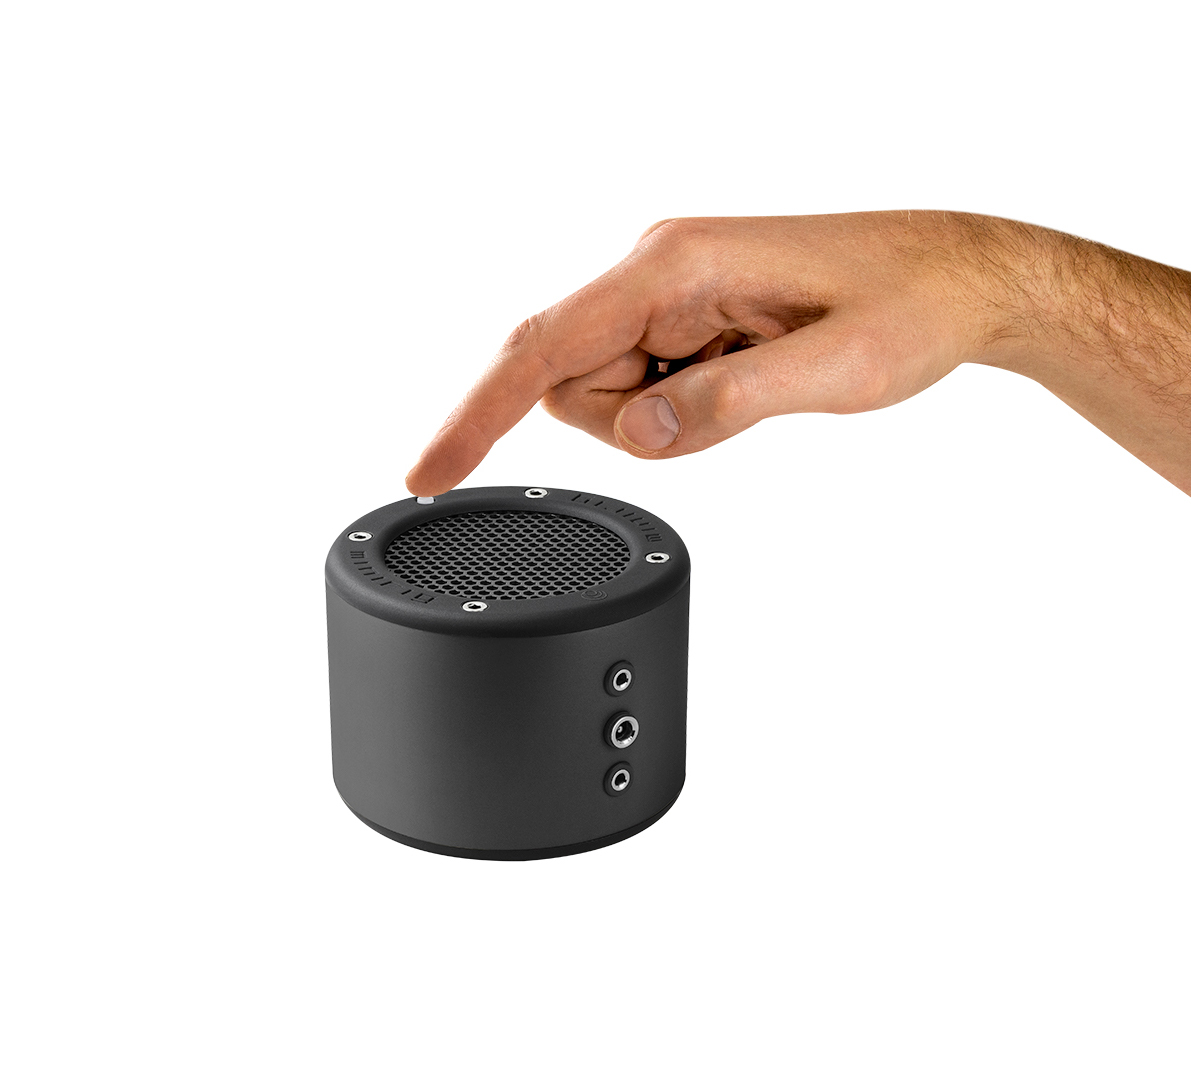
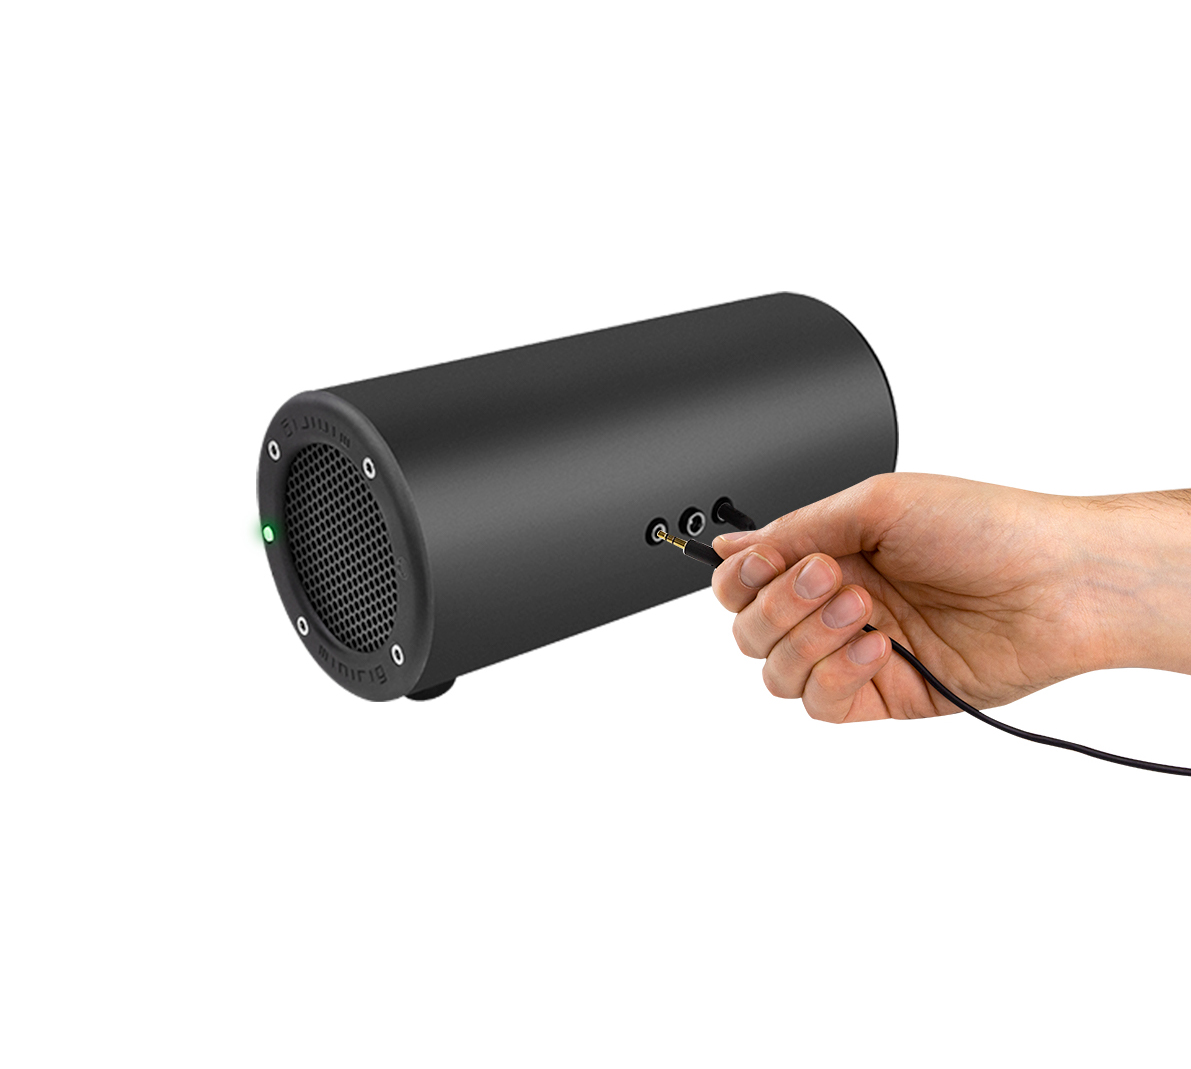
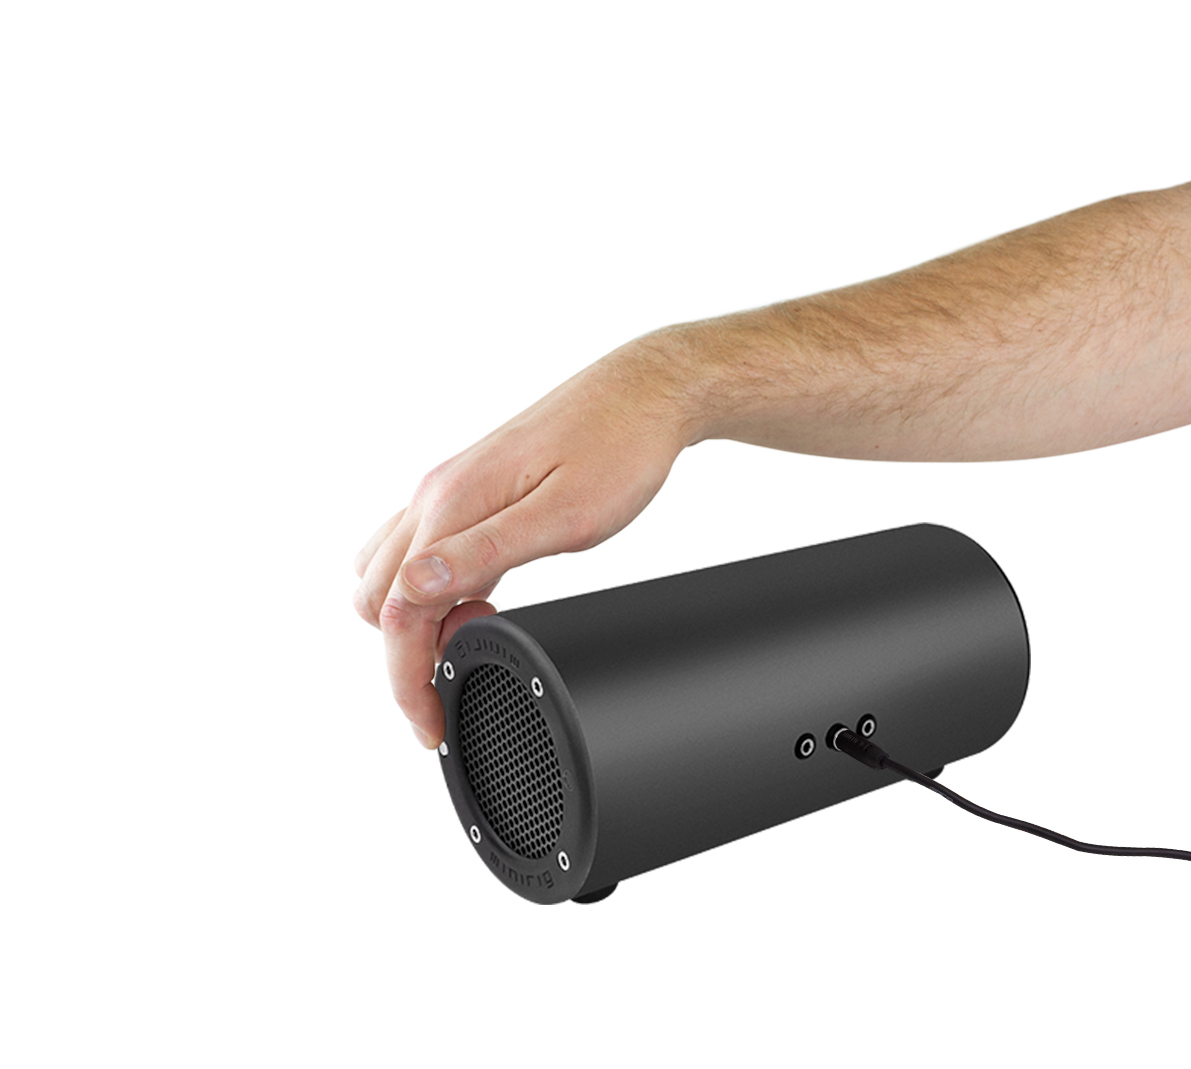
Insert 3.5mm aux cable into either jack socket to turn subwoofer on
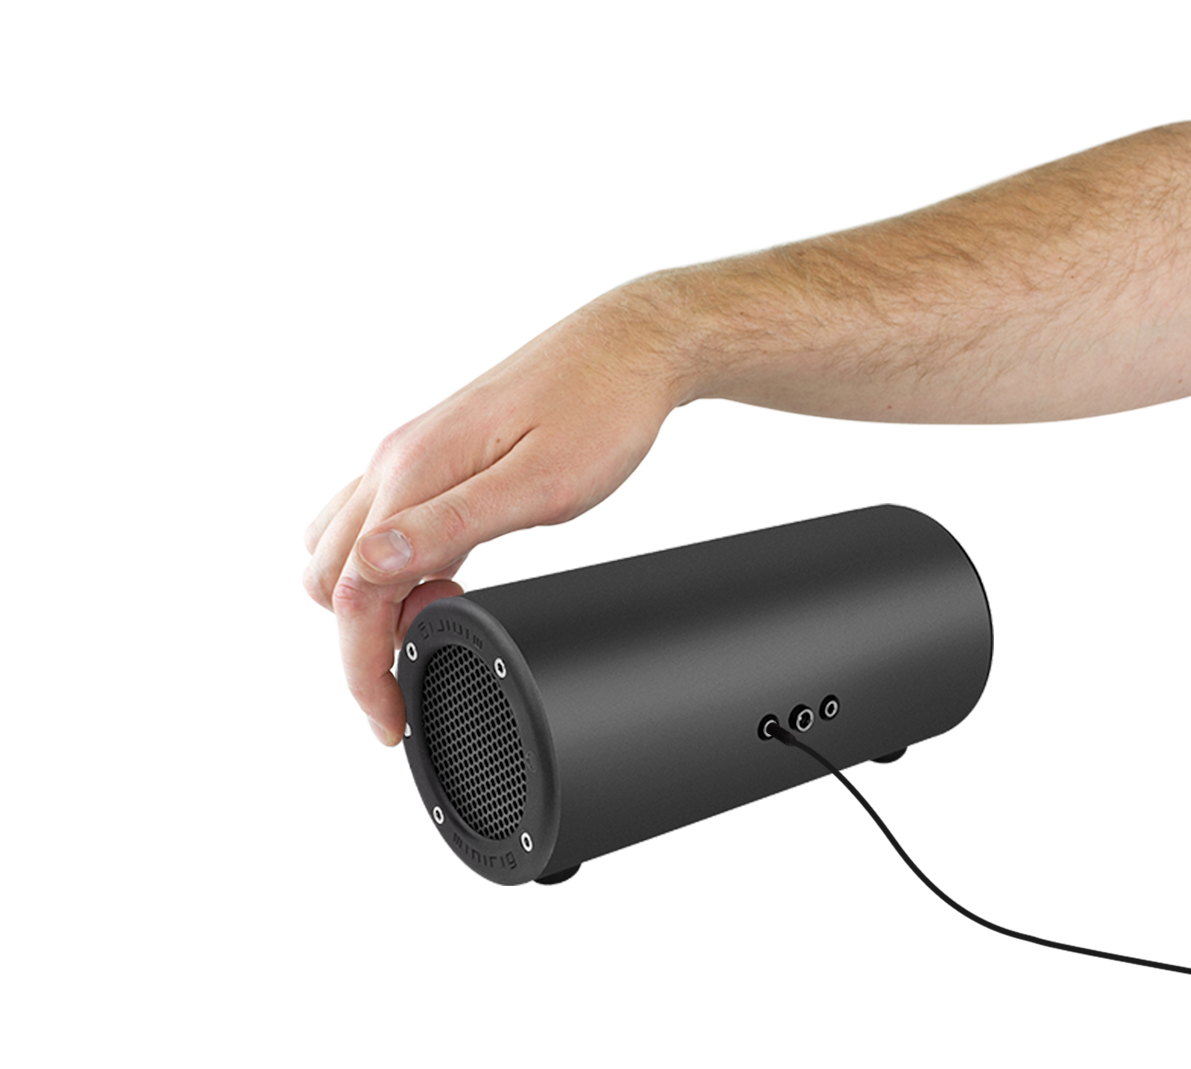
Press and hold the button for 2s or more to turn the subwoofer off

Press and hold the button for 2s or more to turn the subwoofer on

Remove all 3.5mm aux cables to turn the subwoofer off
The subwoofer will not turn on using the button alone.
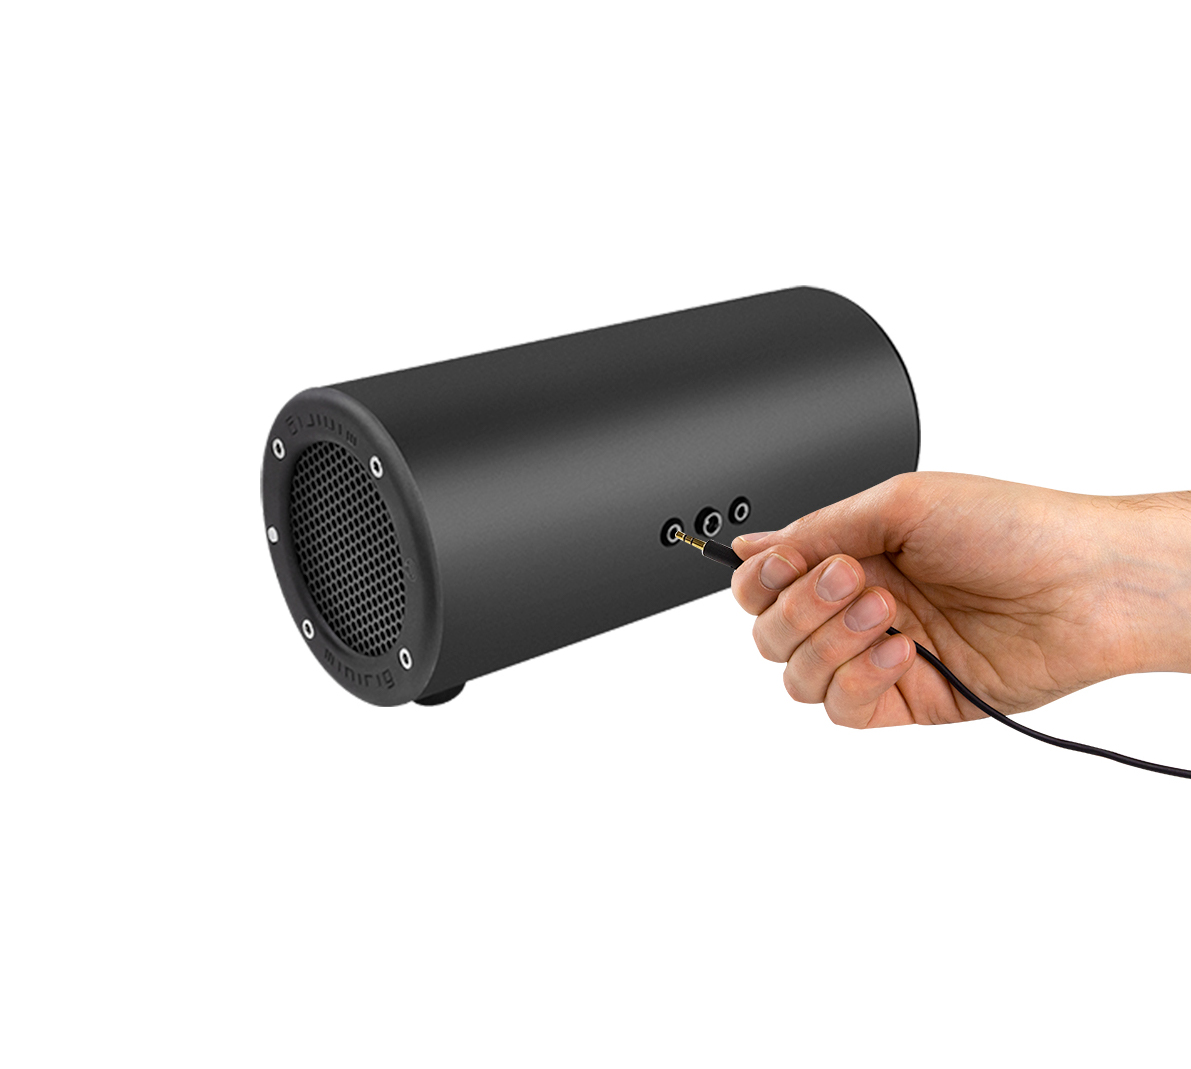
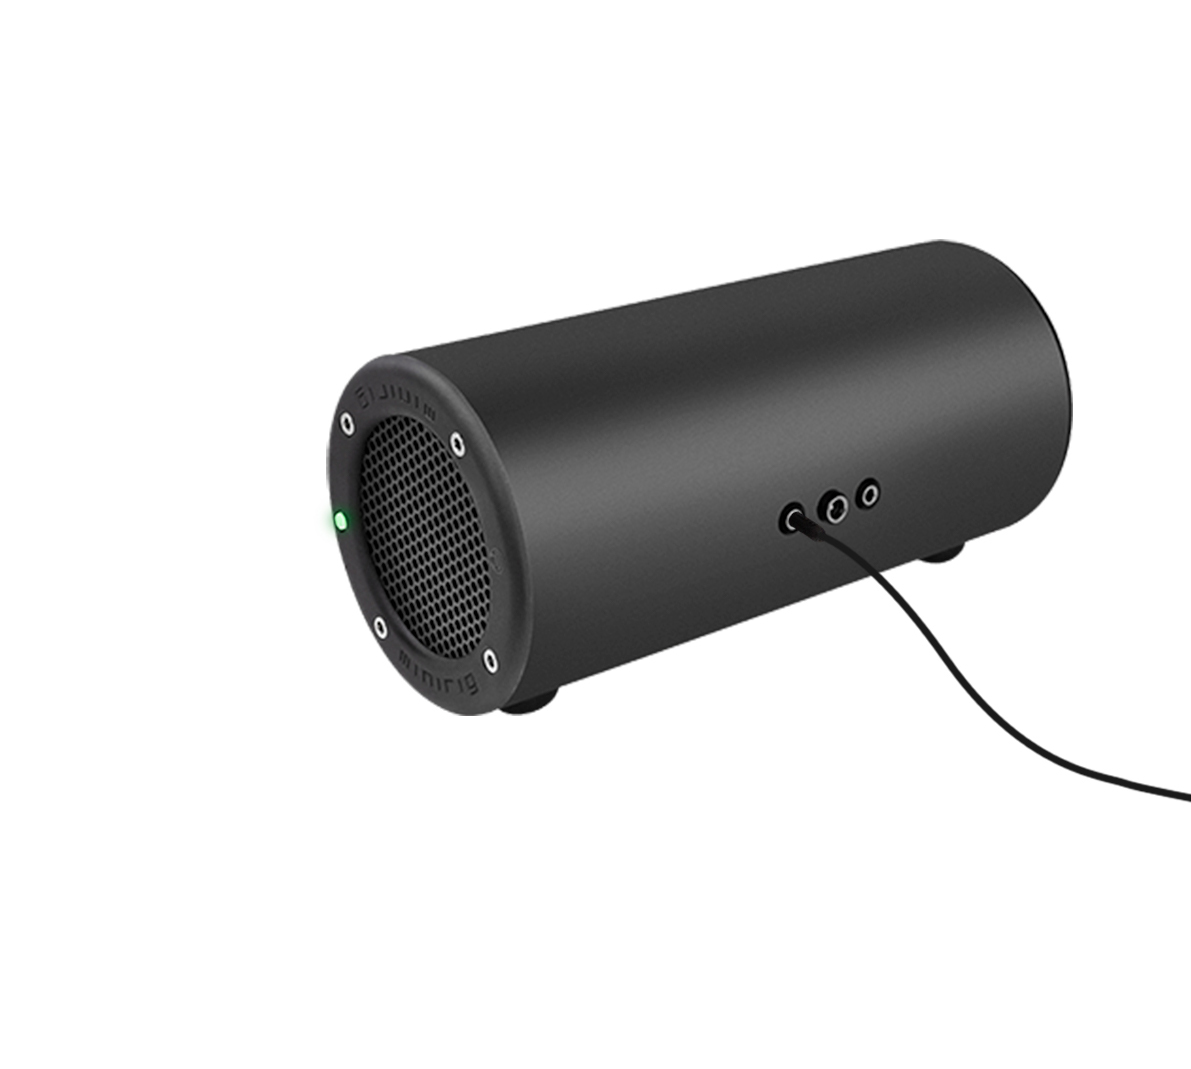
Insert the audio cable into this socket first to start in high volume (high gain) mode
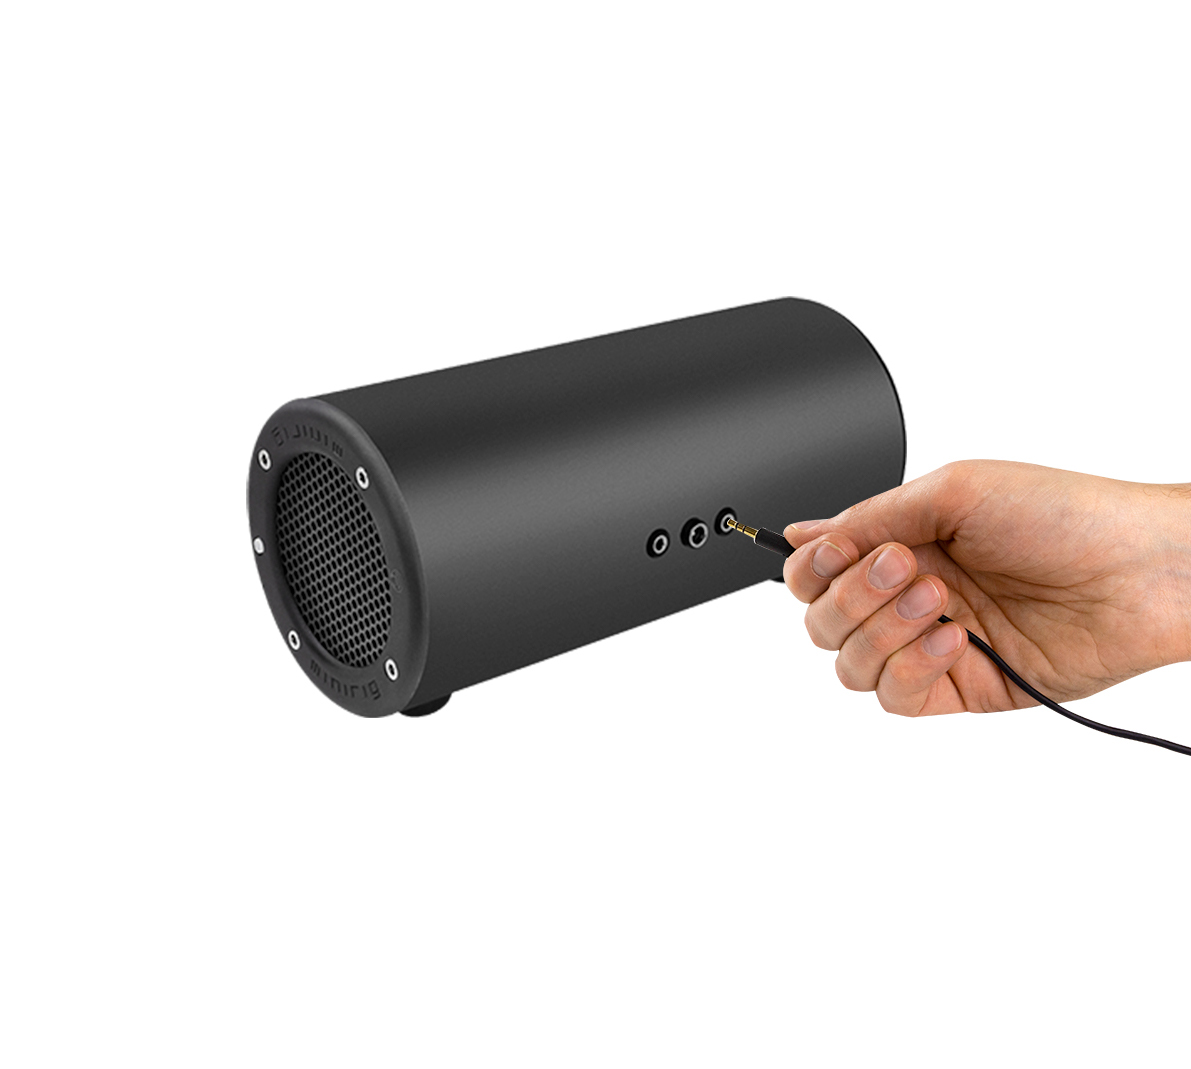
Insert the audio cable into this socket first to start in low volume (low gain) mode
Press the button (do not hold) to change between LOW and HIGH gain modes
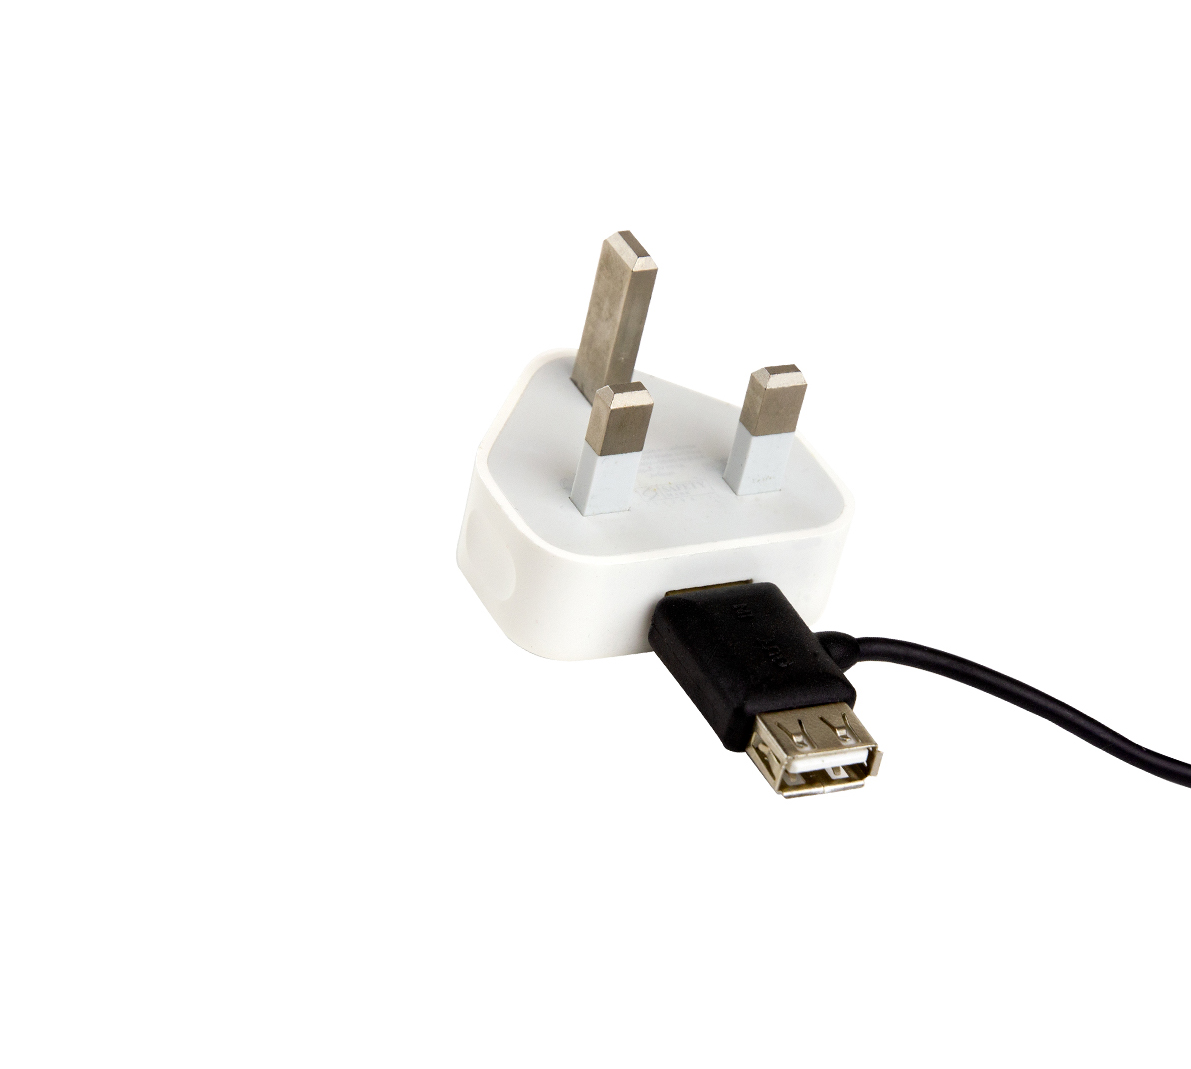
Plug the charging cable provided into any USB socket
Plug the round barrel connector into the middle socket of the subwoofer
The LED will start fading

The LED will stop fading when charging is complete
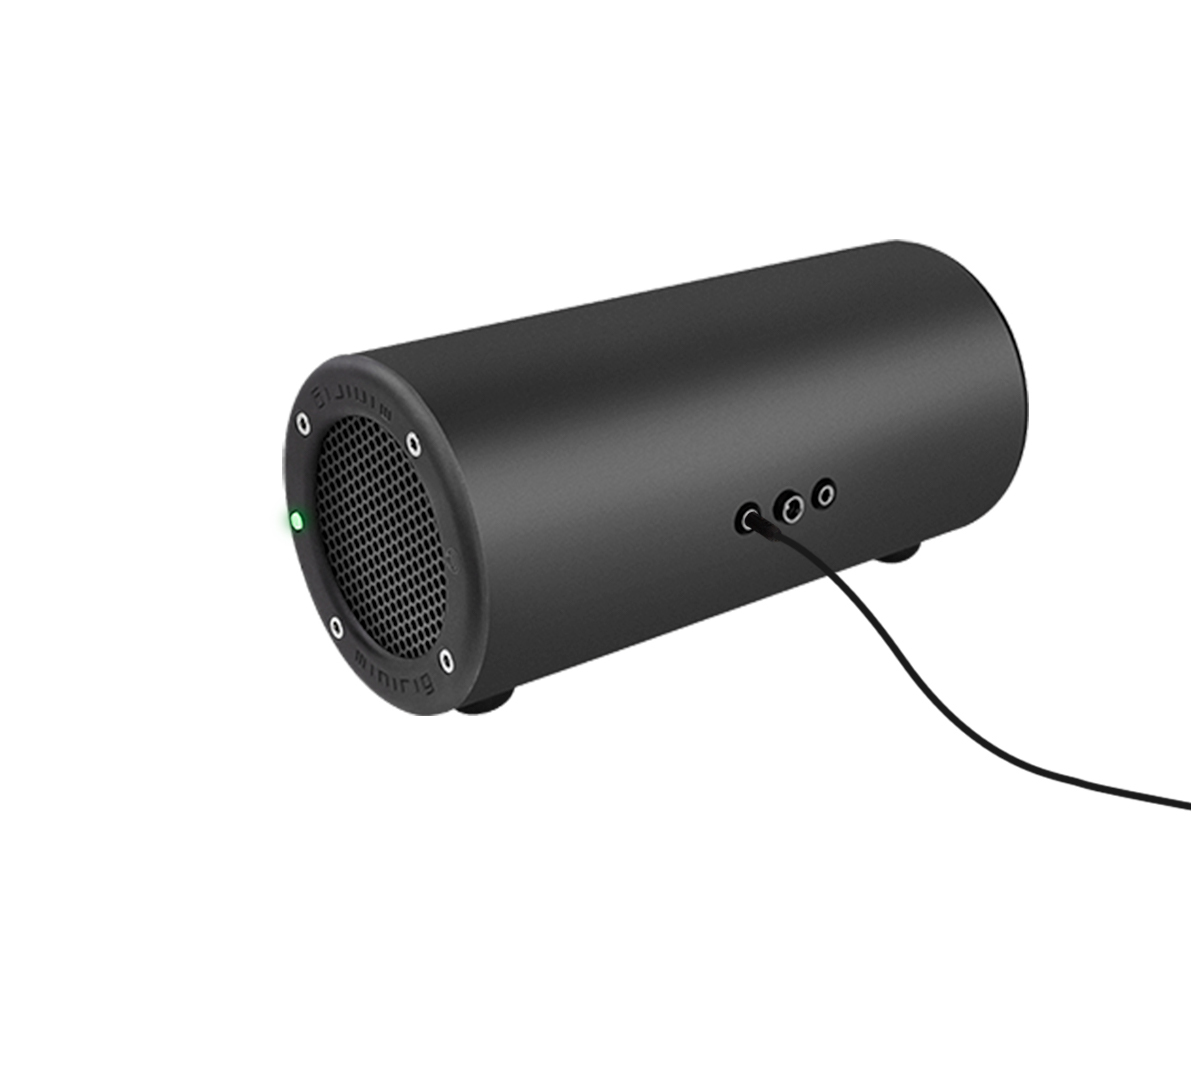
When the subwoofer is on, the colour of the LED will represent the battery level
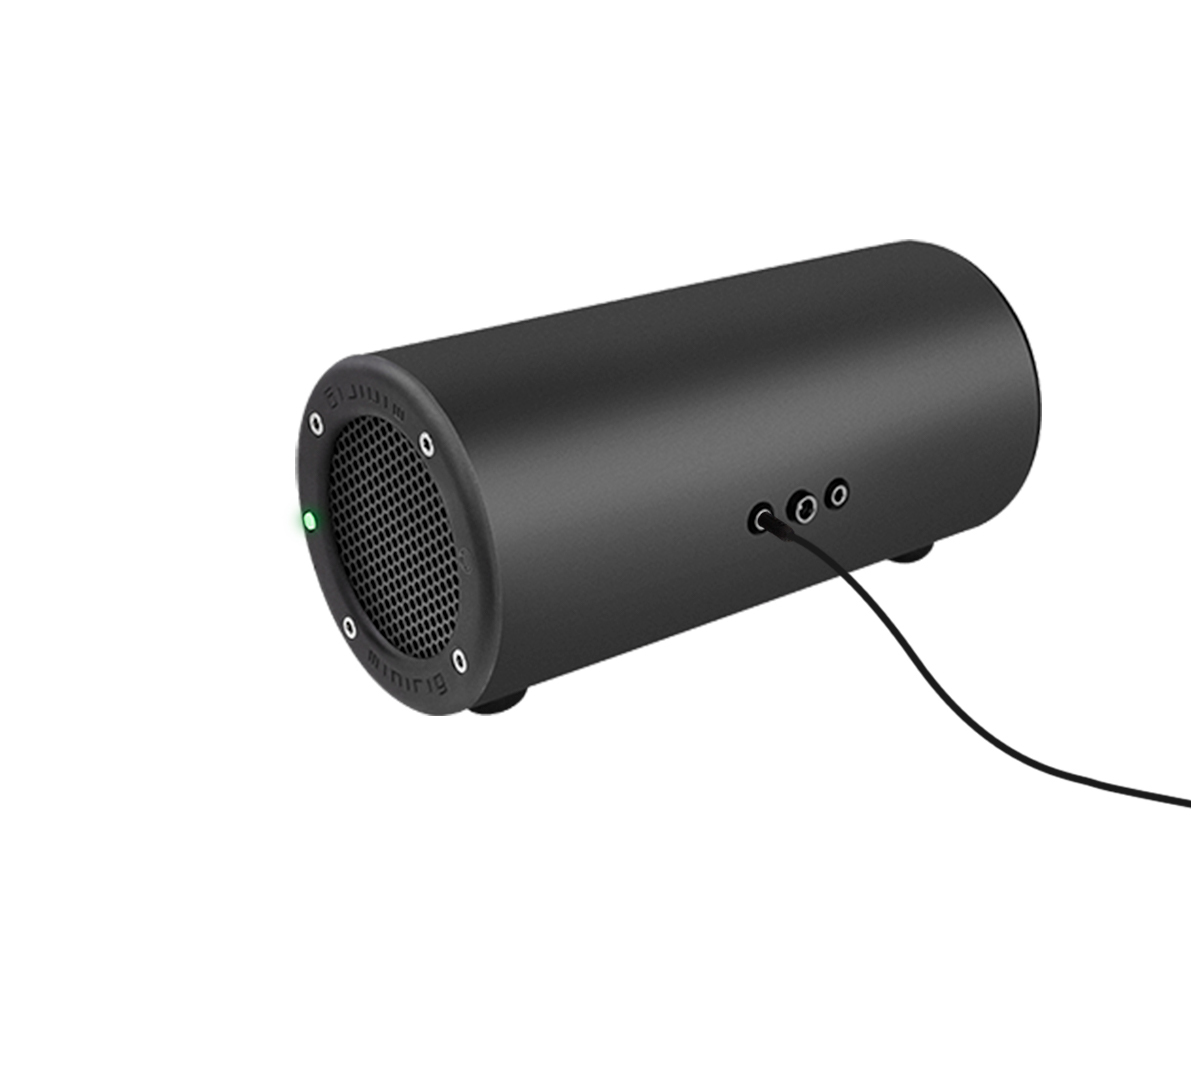
PURPLE = 0-25%
BLUE = 25-50%
CYAN = 50-75%
GREEN = 75-100%
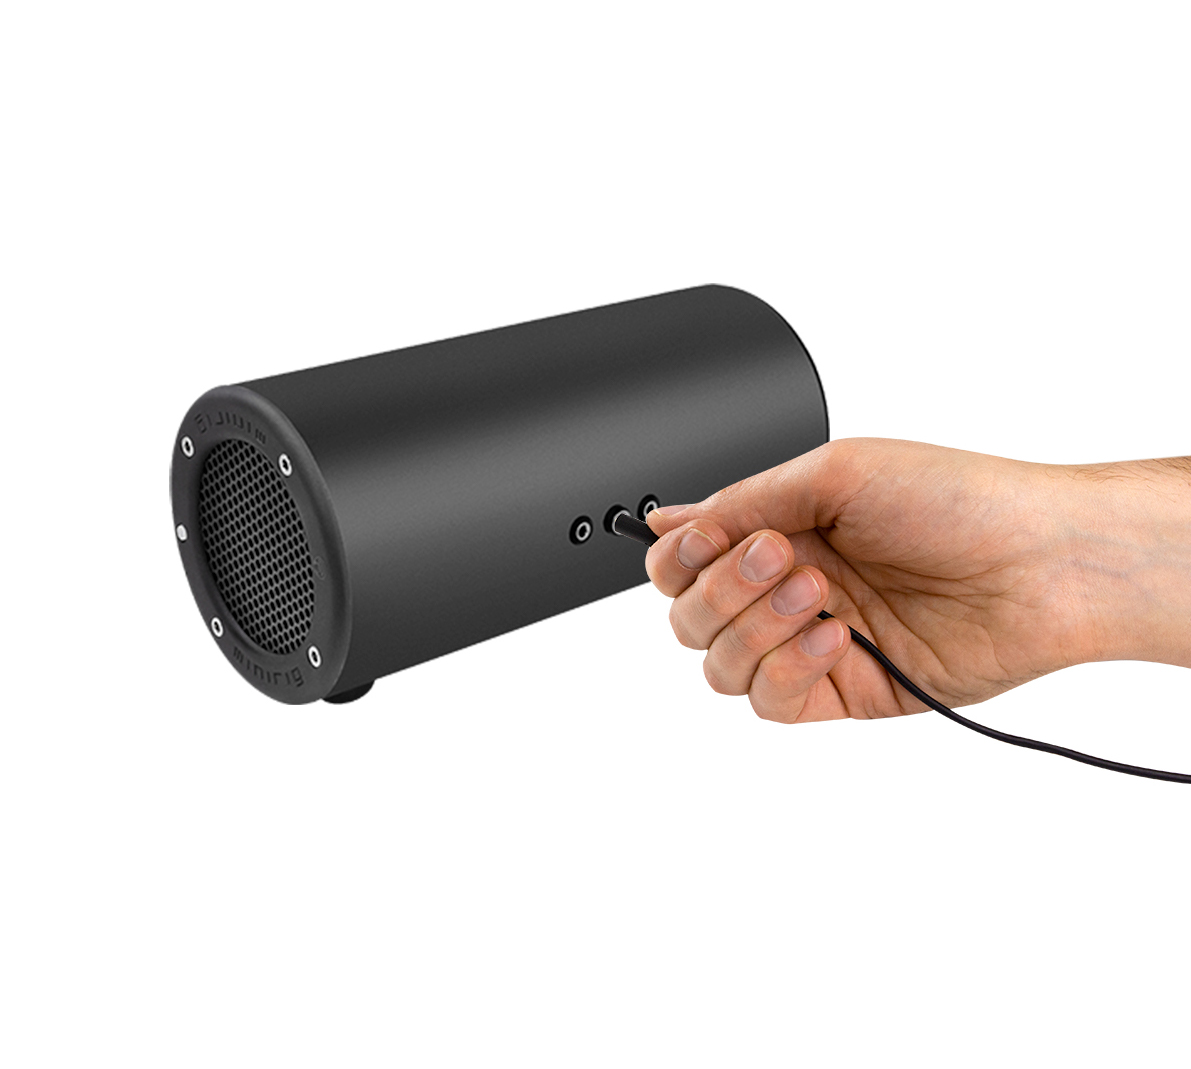
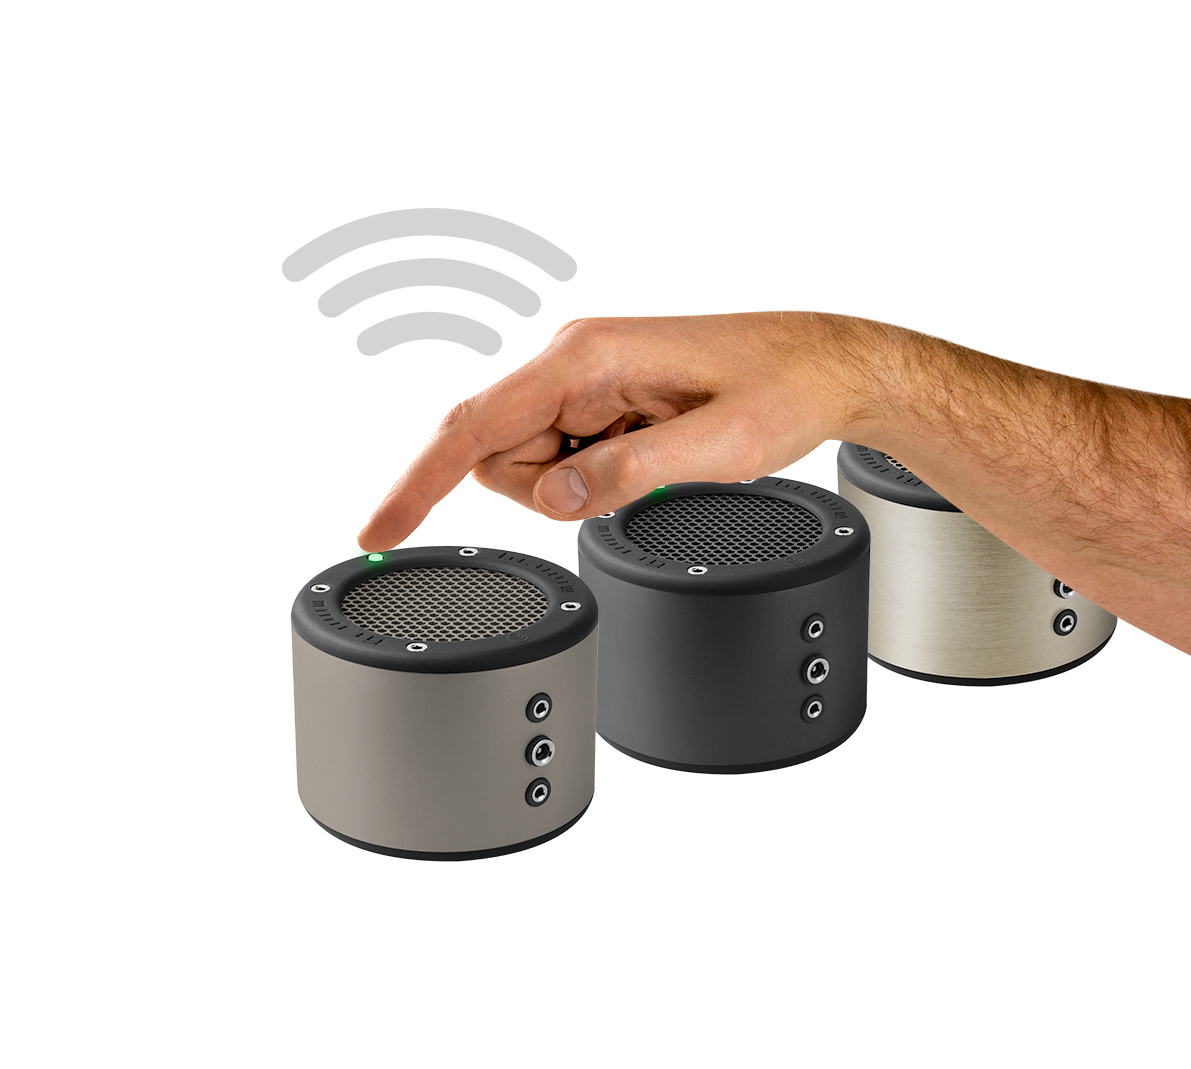
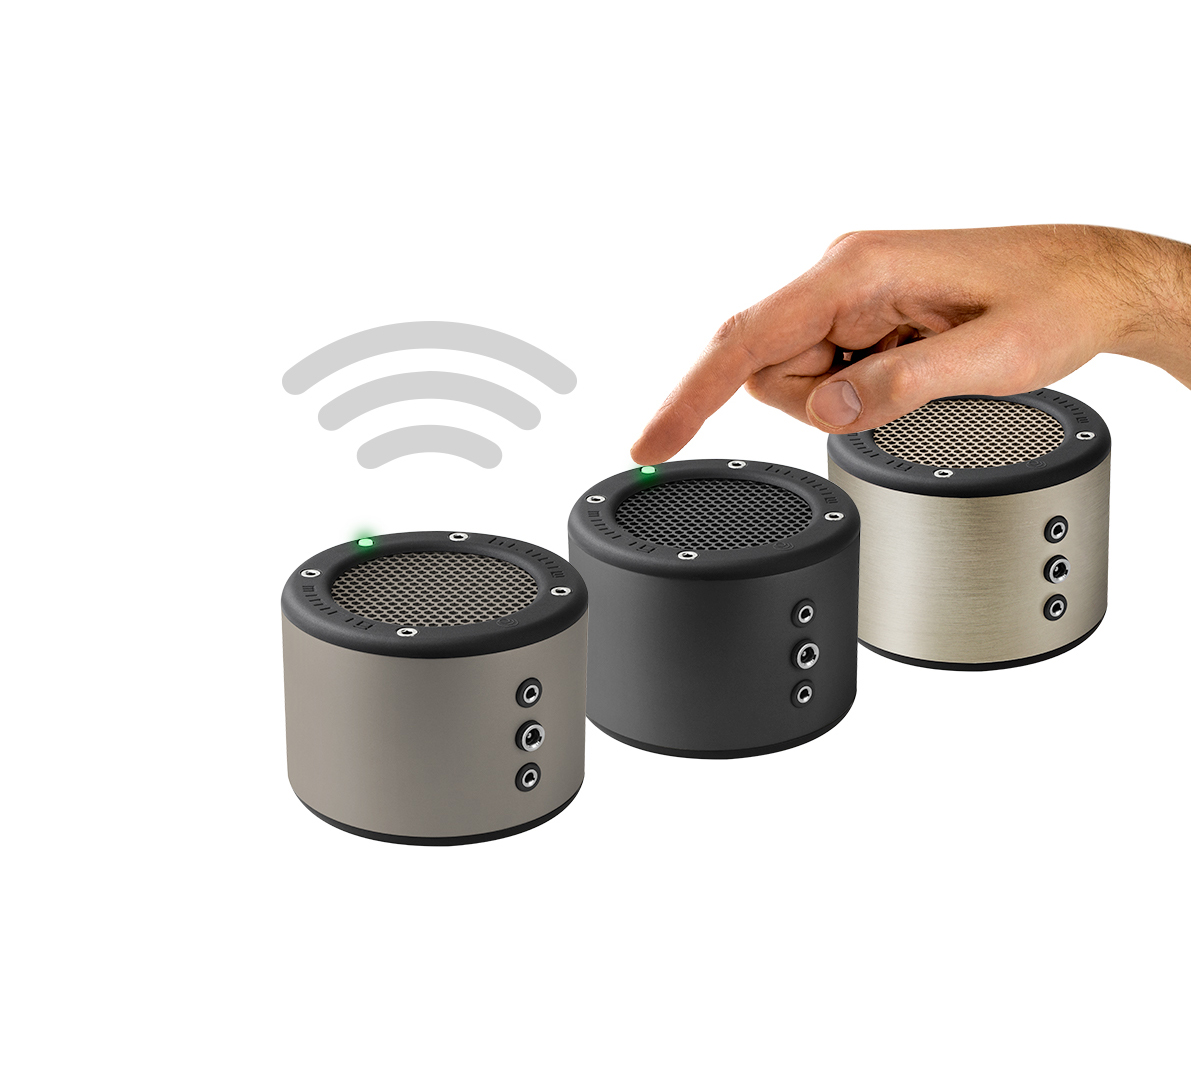
When the subwoofer is off, press the button (do not hold). The LED will light up to show the battery status
Turn the Minirig on in Bluetooth mode and play music
Turn the subwoofer on by inserting 3.5mm cable
Plug the other end into either socket of the Bluetooth Minirig
Use the button to change gain if you wish. For the best sound, keep them both in the same gain mode
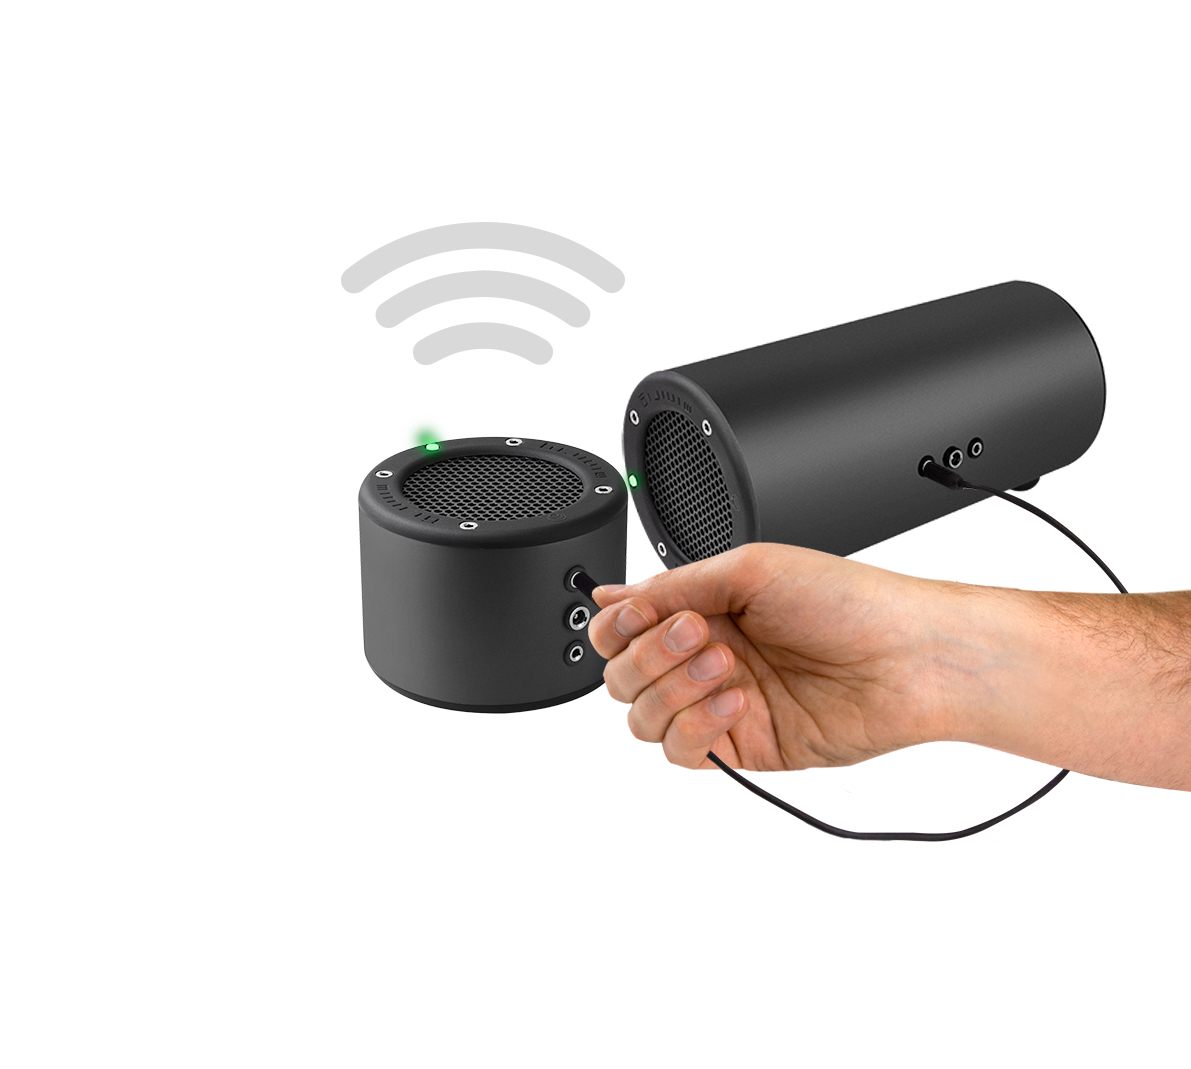
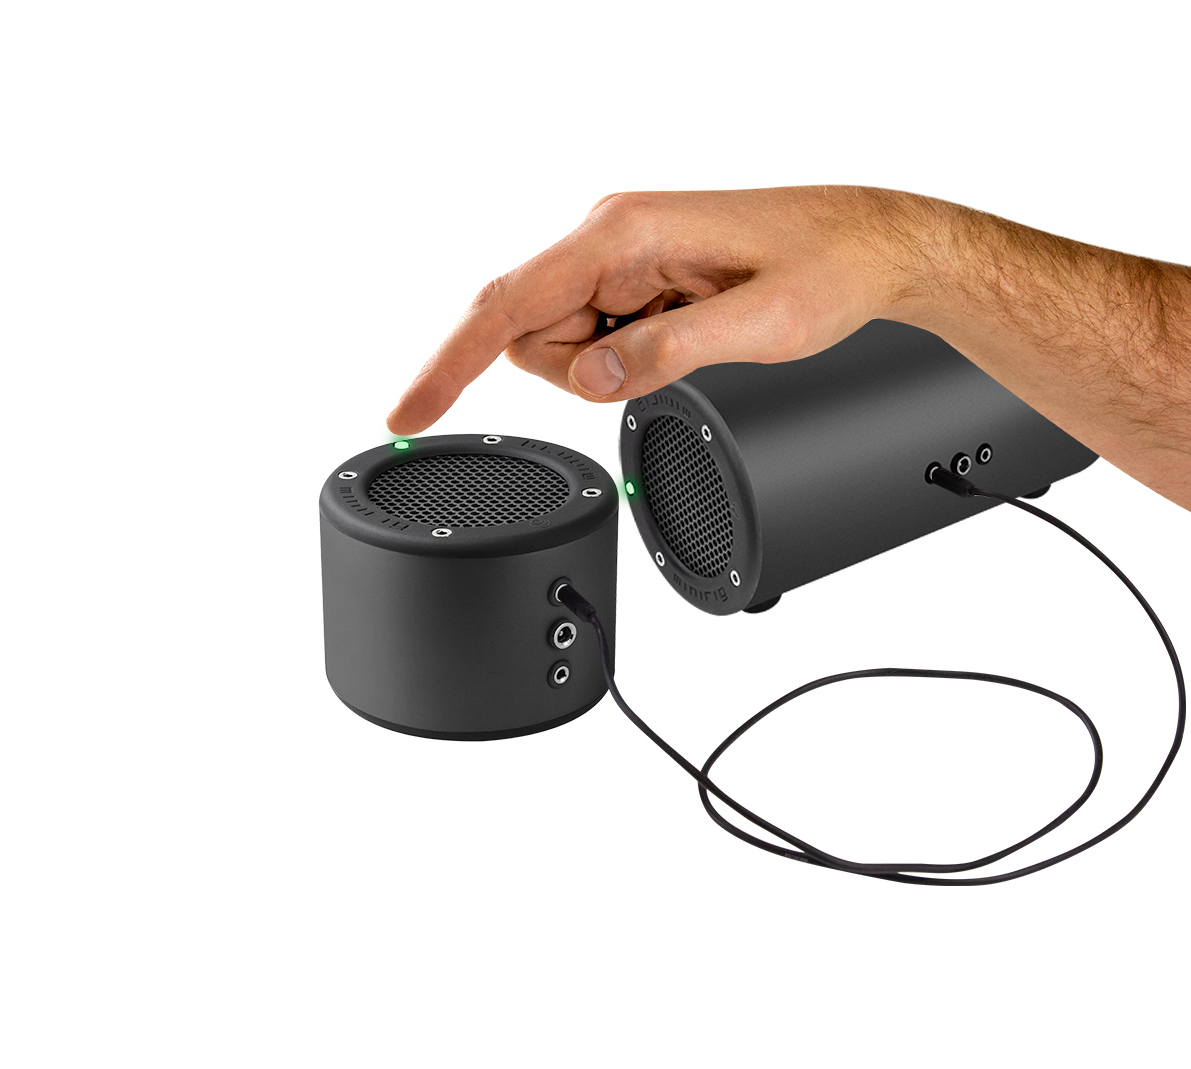
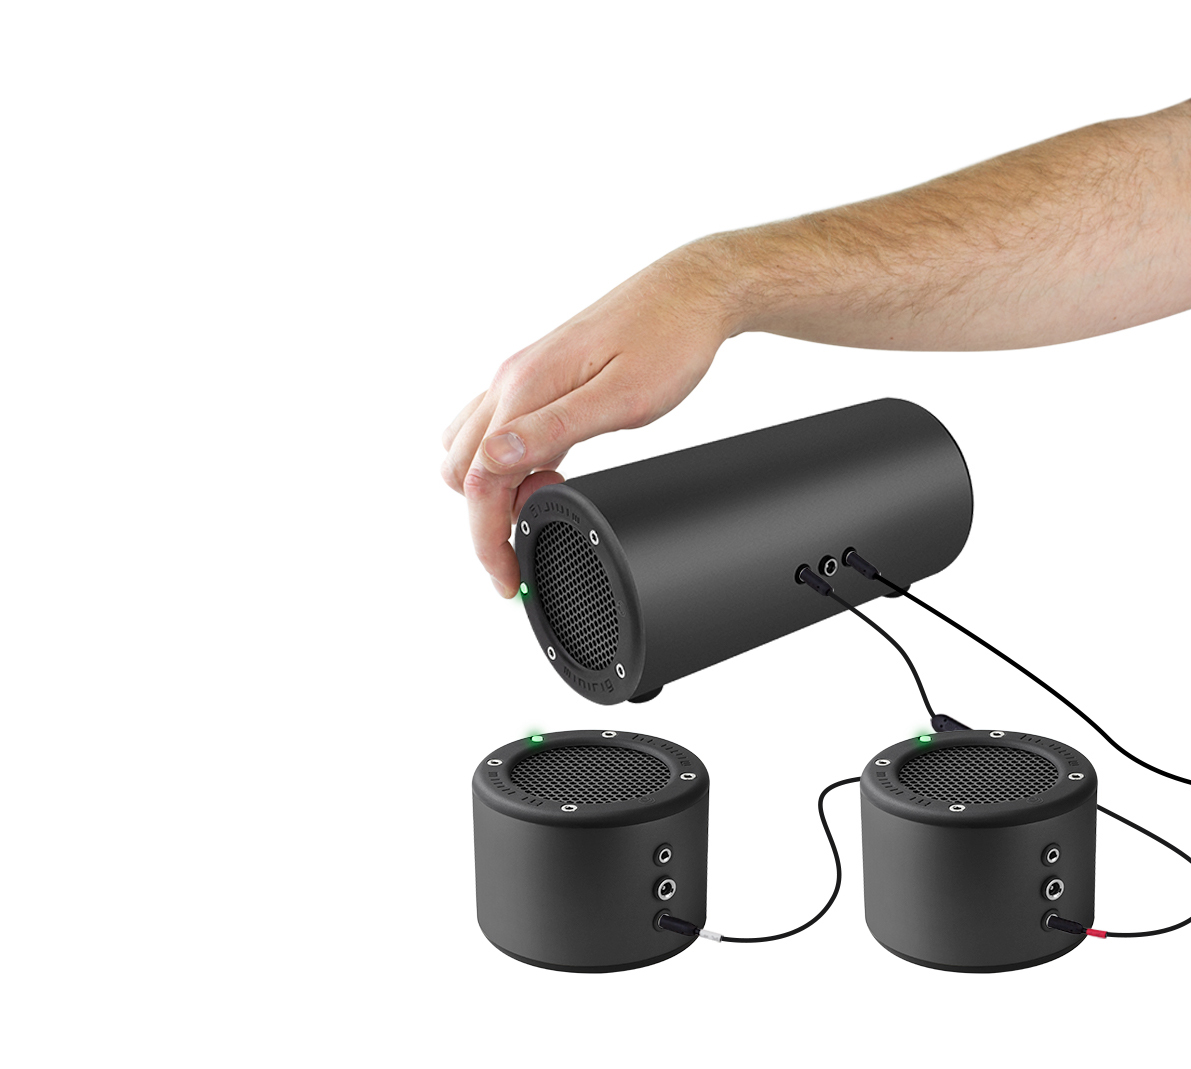
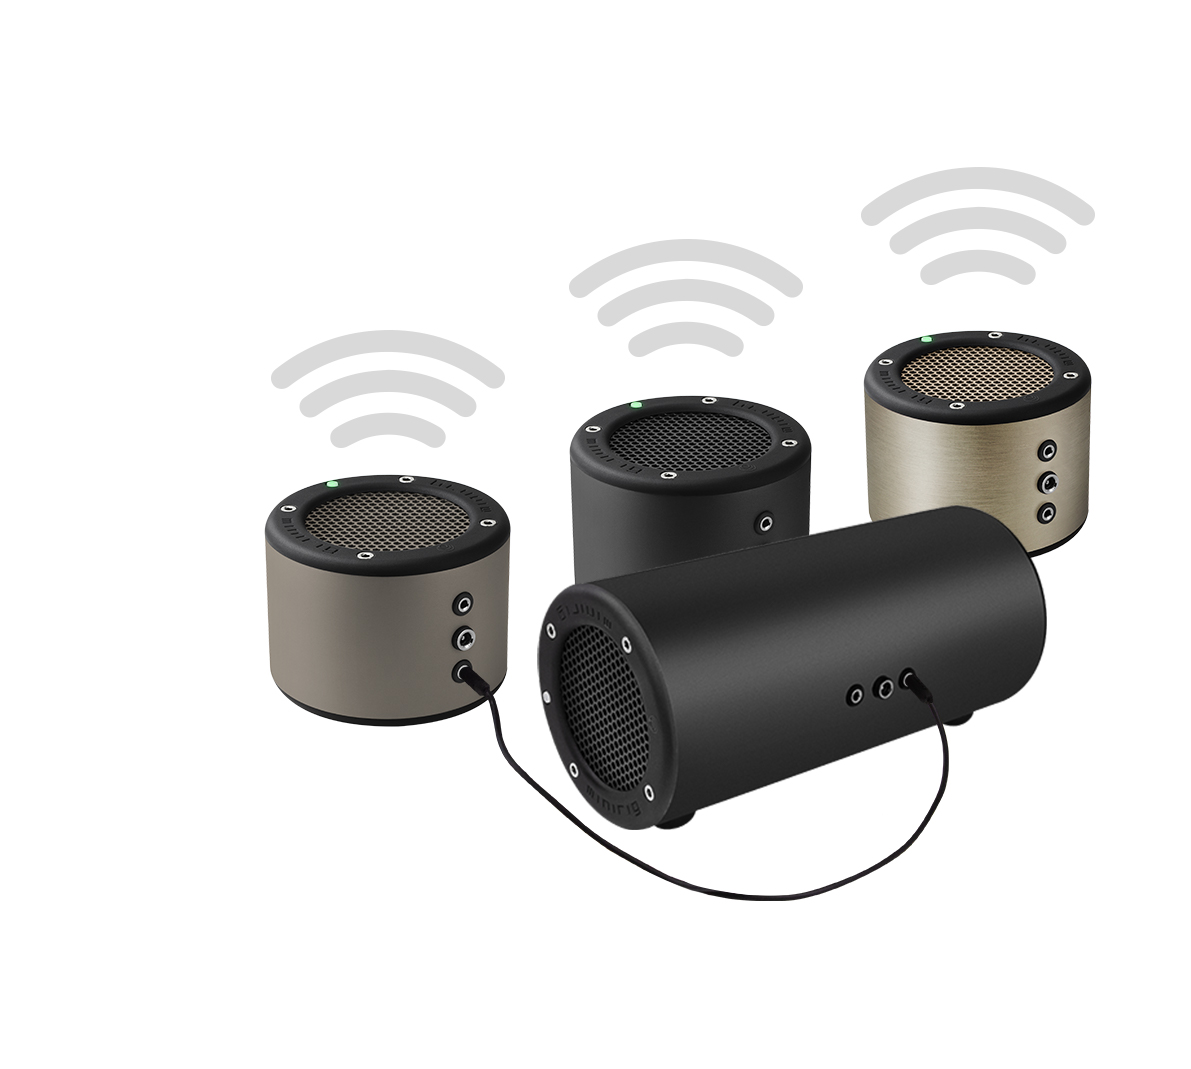
Plug your music device into the first Minirig using an aux cable and play music
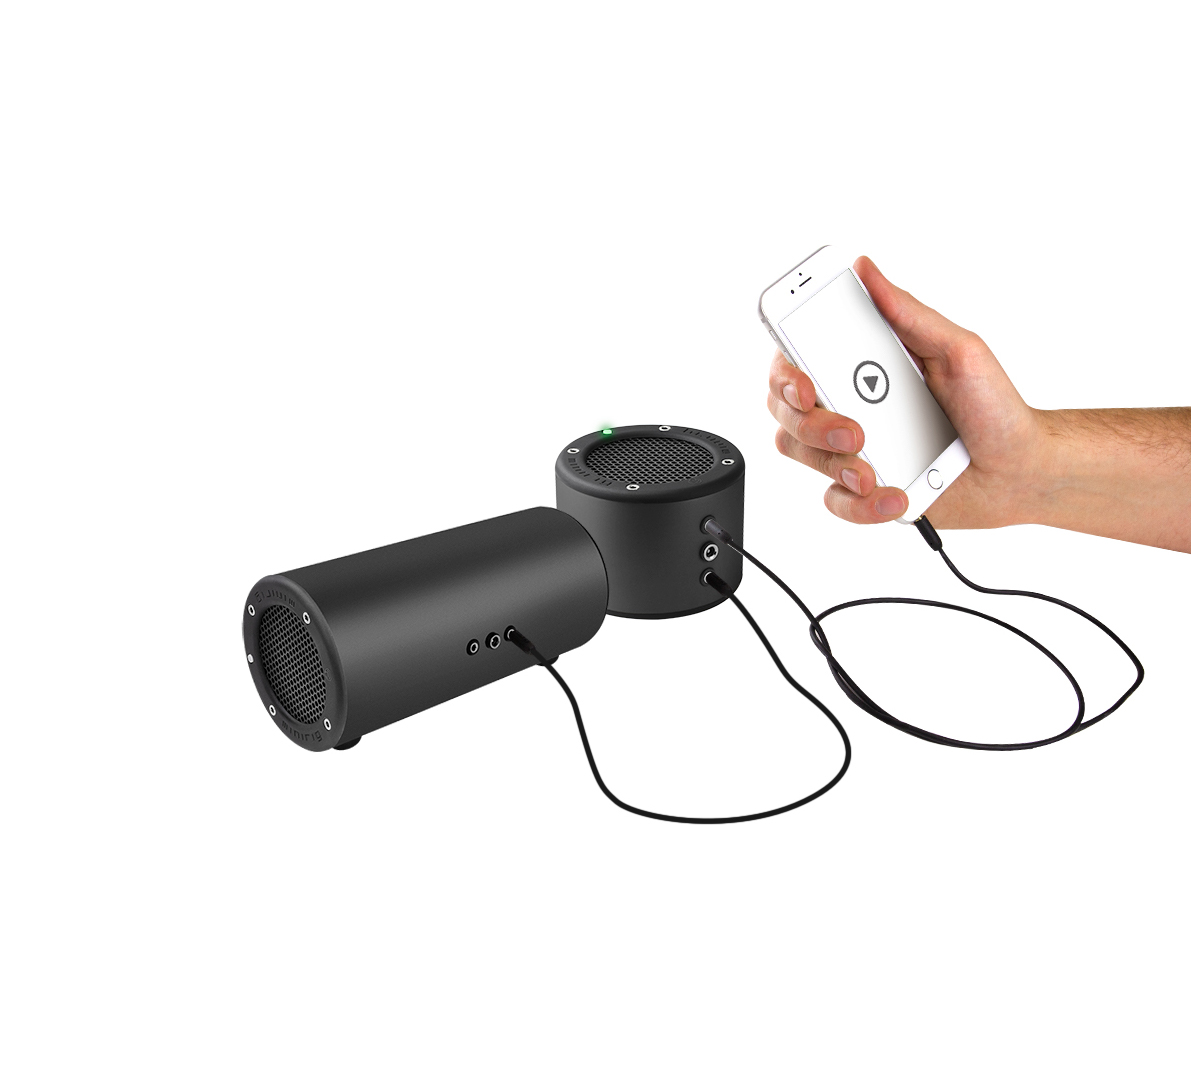
Link out from the first Minirig to the subwoofer using 3.5mm aux cable
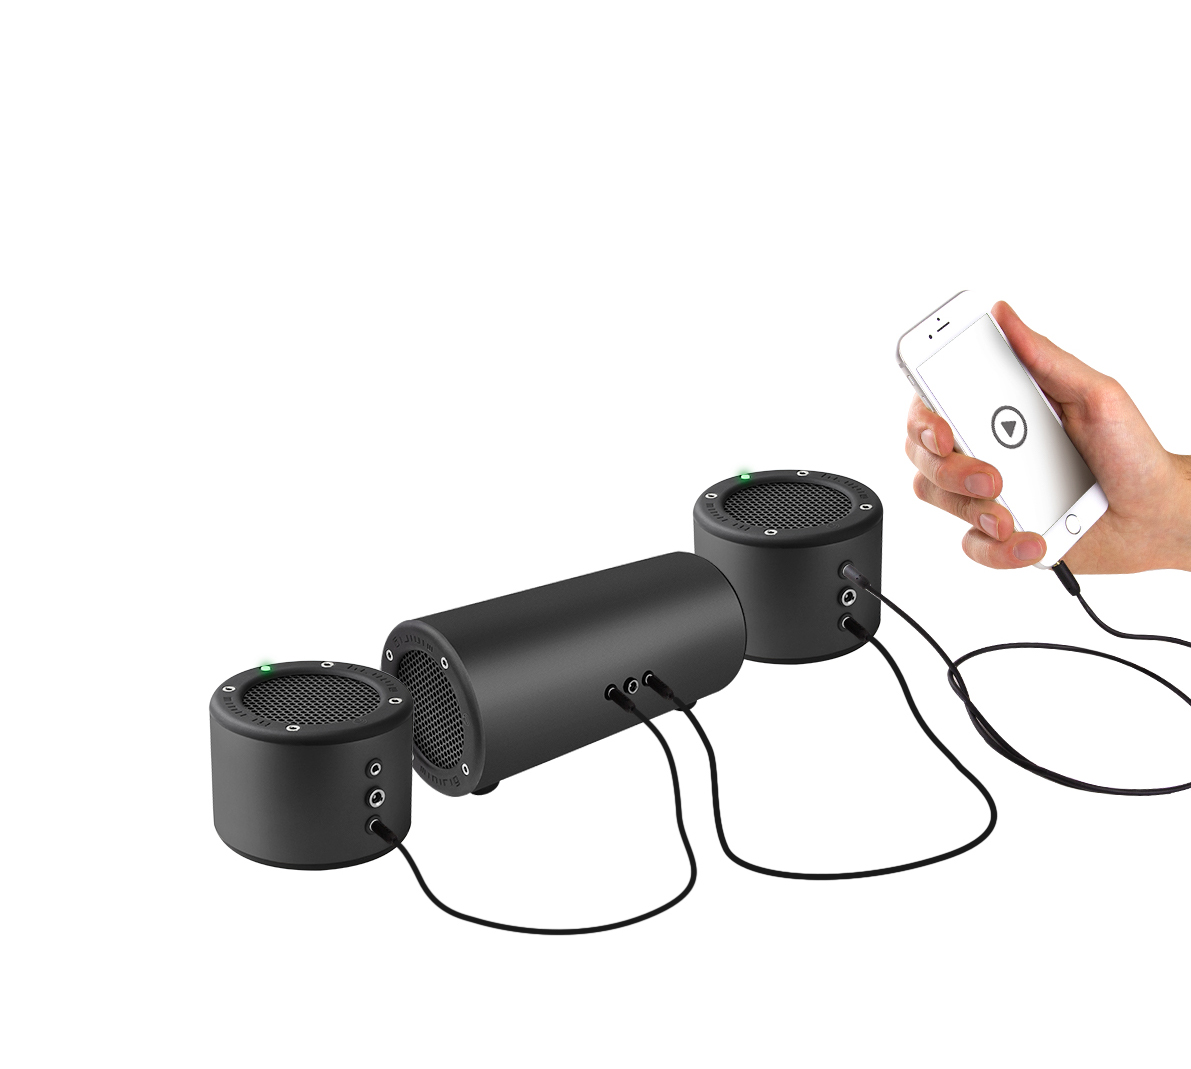
Continue to add as many speakers as you like
Toggle the gain on the Minirigs and subwoofer so they all play at the same volume
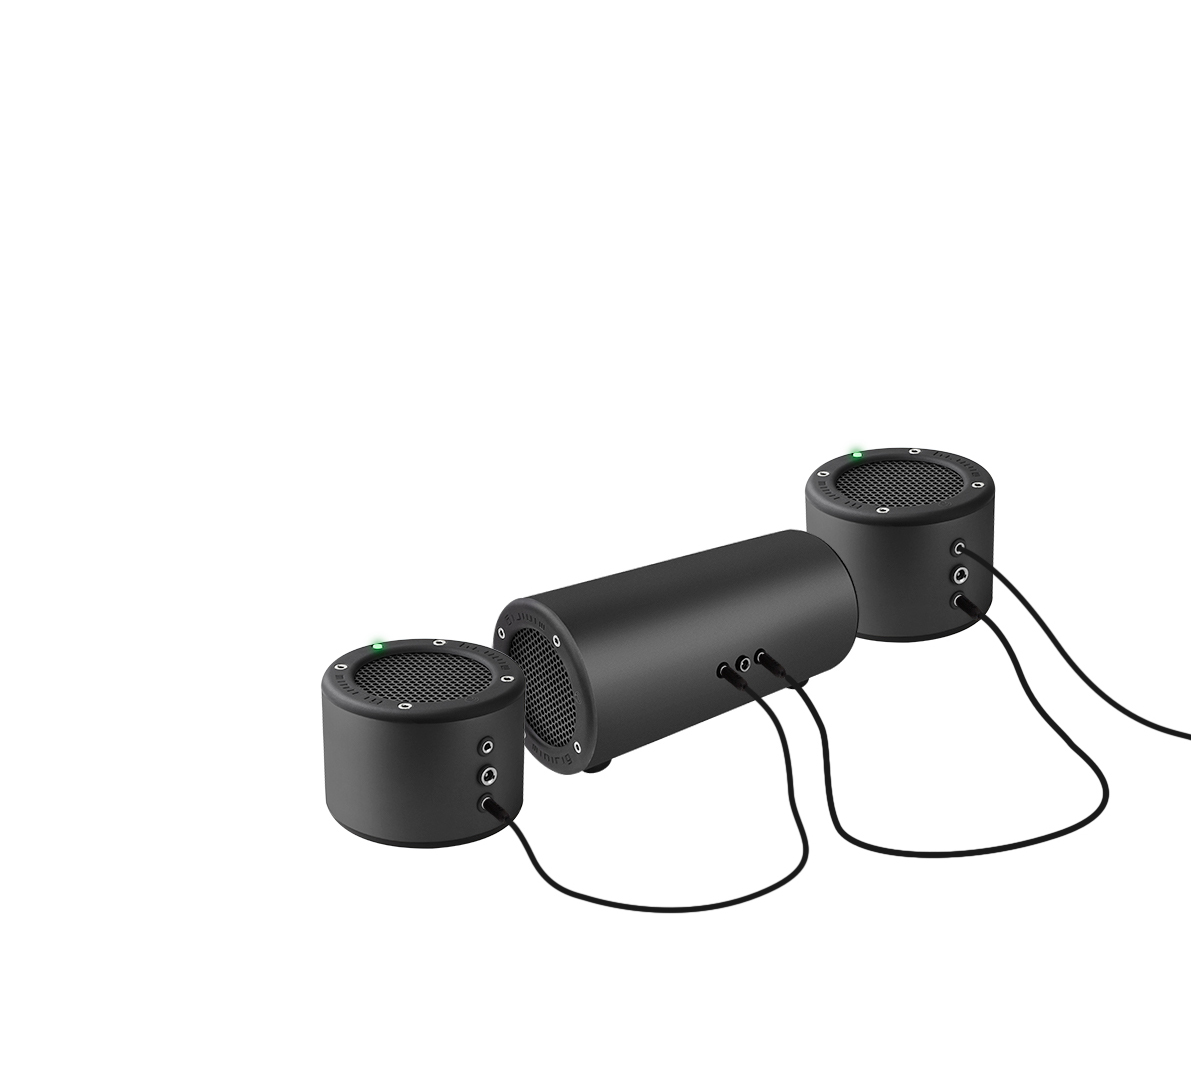
To setup stereo sound, refer to the Minirig 3 or Minirig Mini how to guides
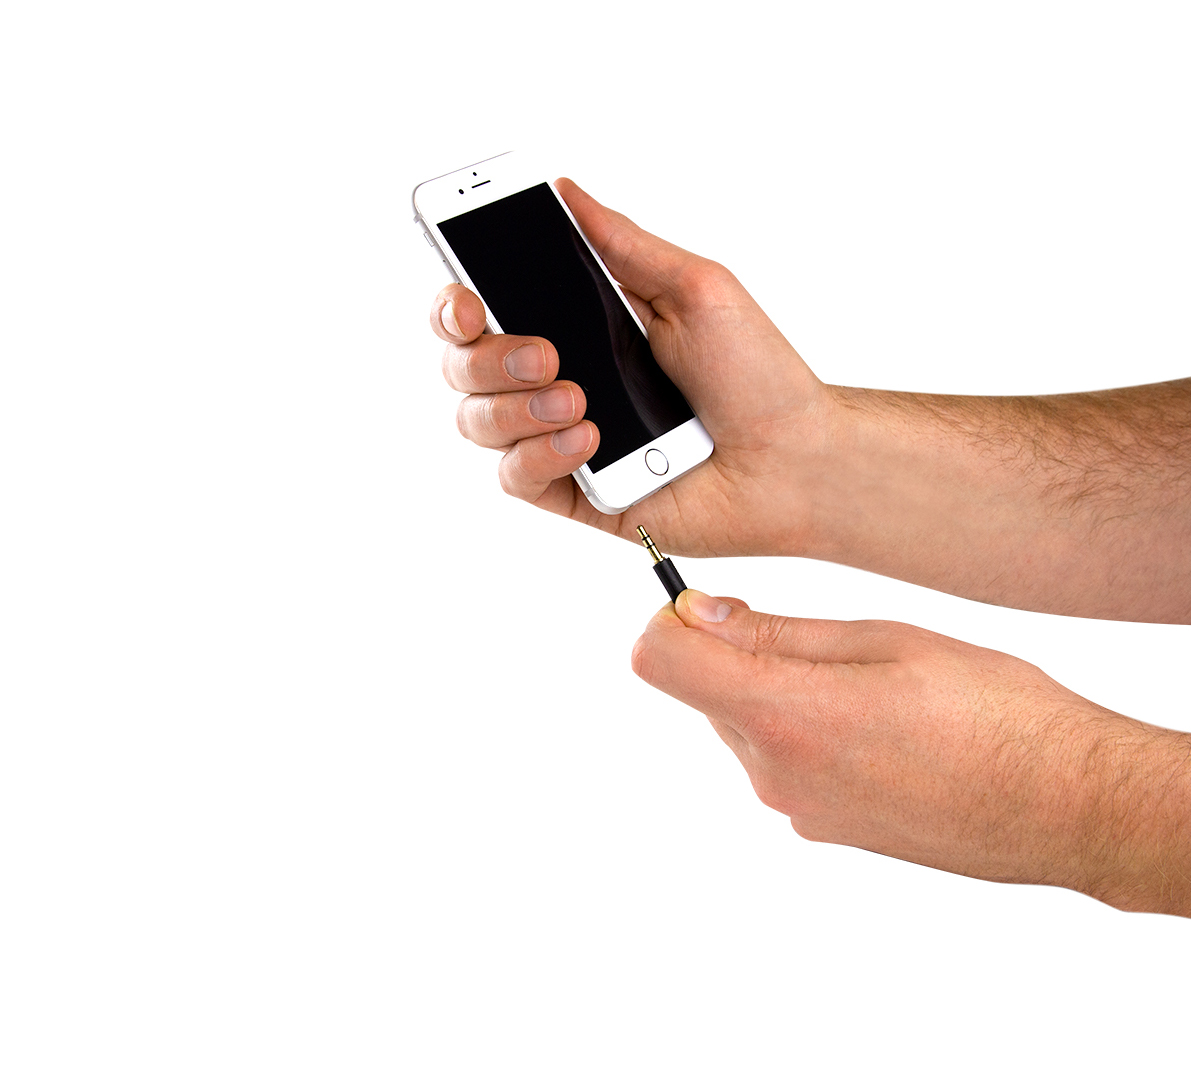
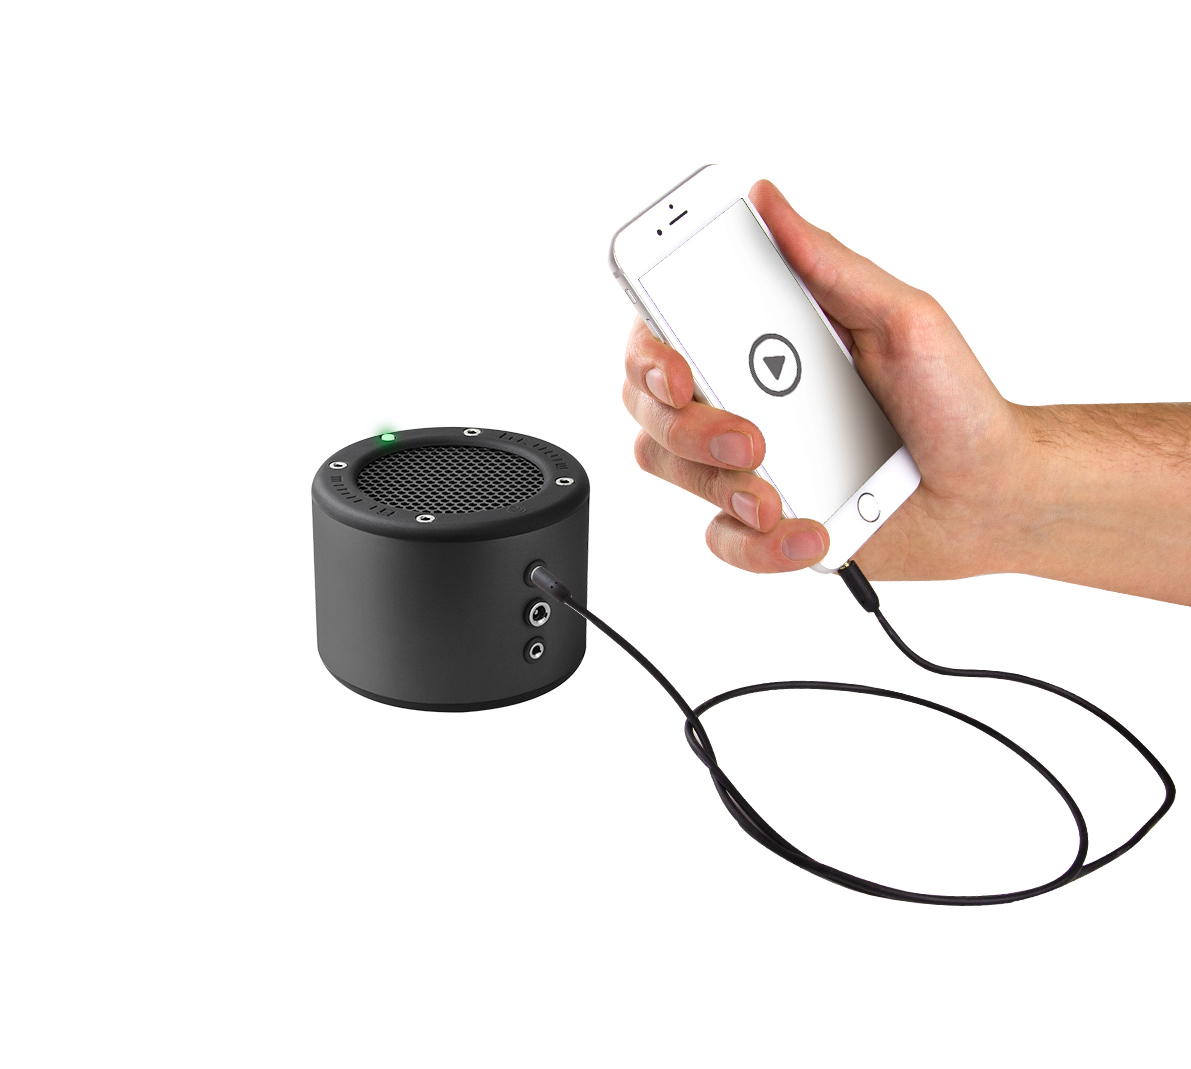
Plug the standard audio aux cable into the 3.5mm headphone socket of your phone or device

Plug the other end into either socket of the subwoofer. We recommend the low gain socket
Plug the 4-pole end of the stereo splitter cable into the free socket on the subwoofer. The cable can be purchased from our website
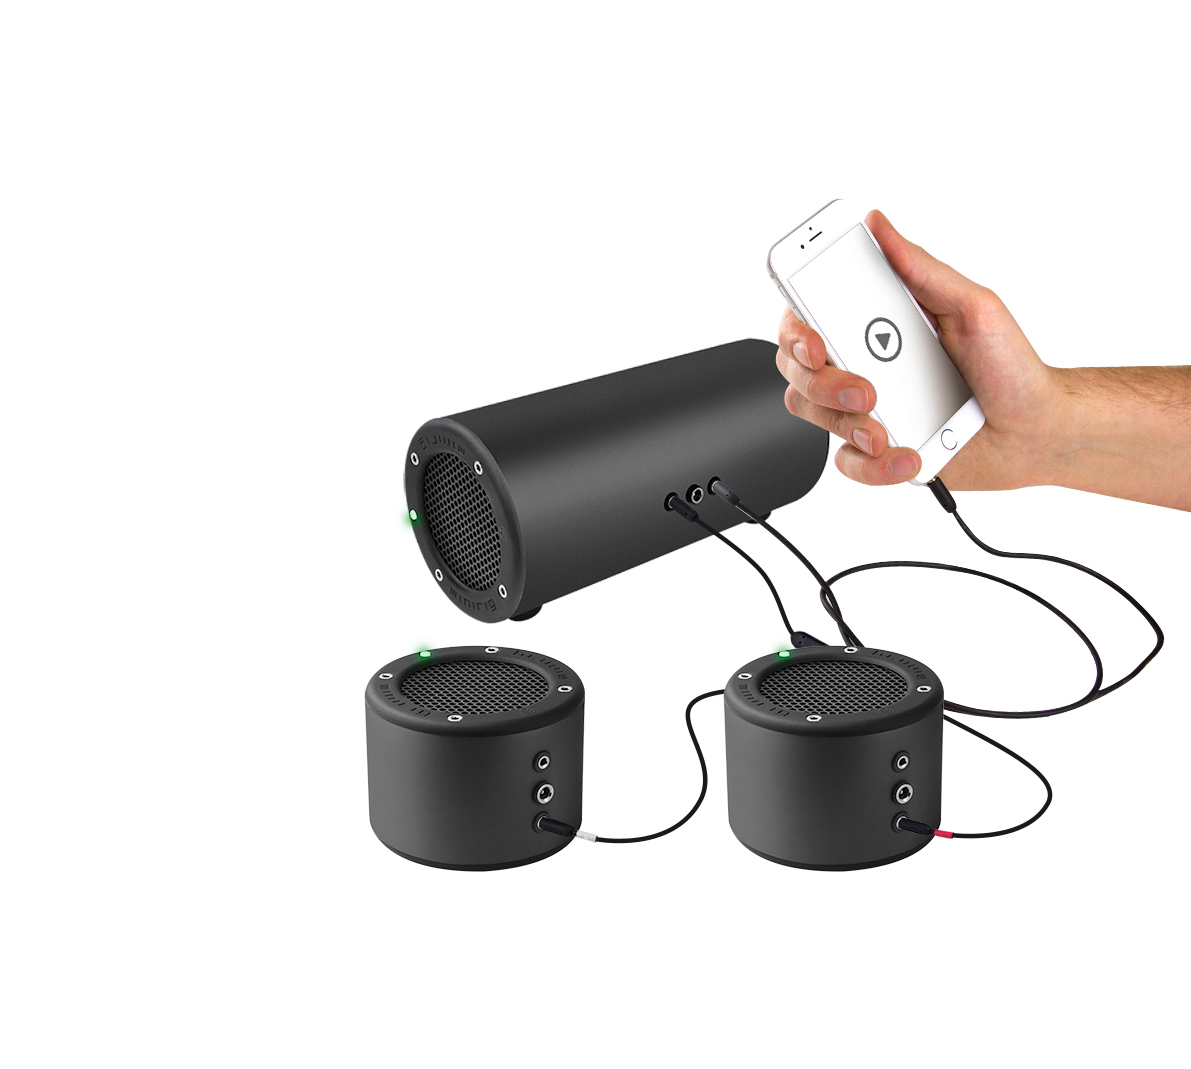
Plug the white end to the left Minirig and red end to the right Minirig. Change gain setting as required.
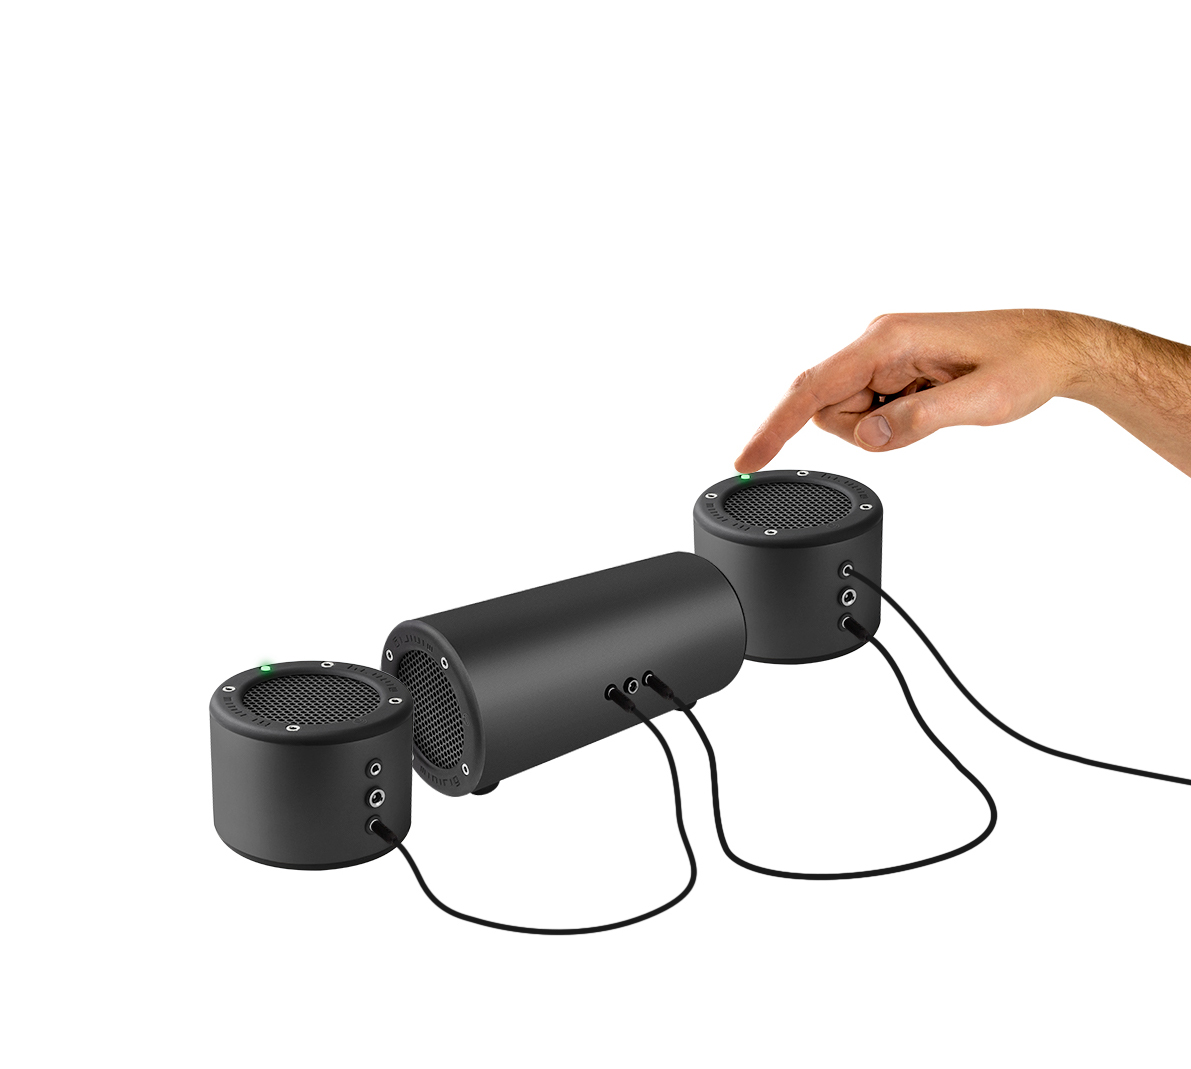
Press and hold the button on the subwoofer to turn the subwoofer and the Minirigs off and on (Works with Minirig v1, v2, v3)
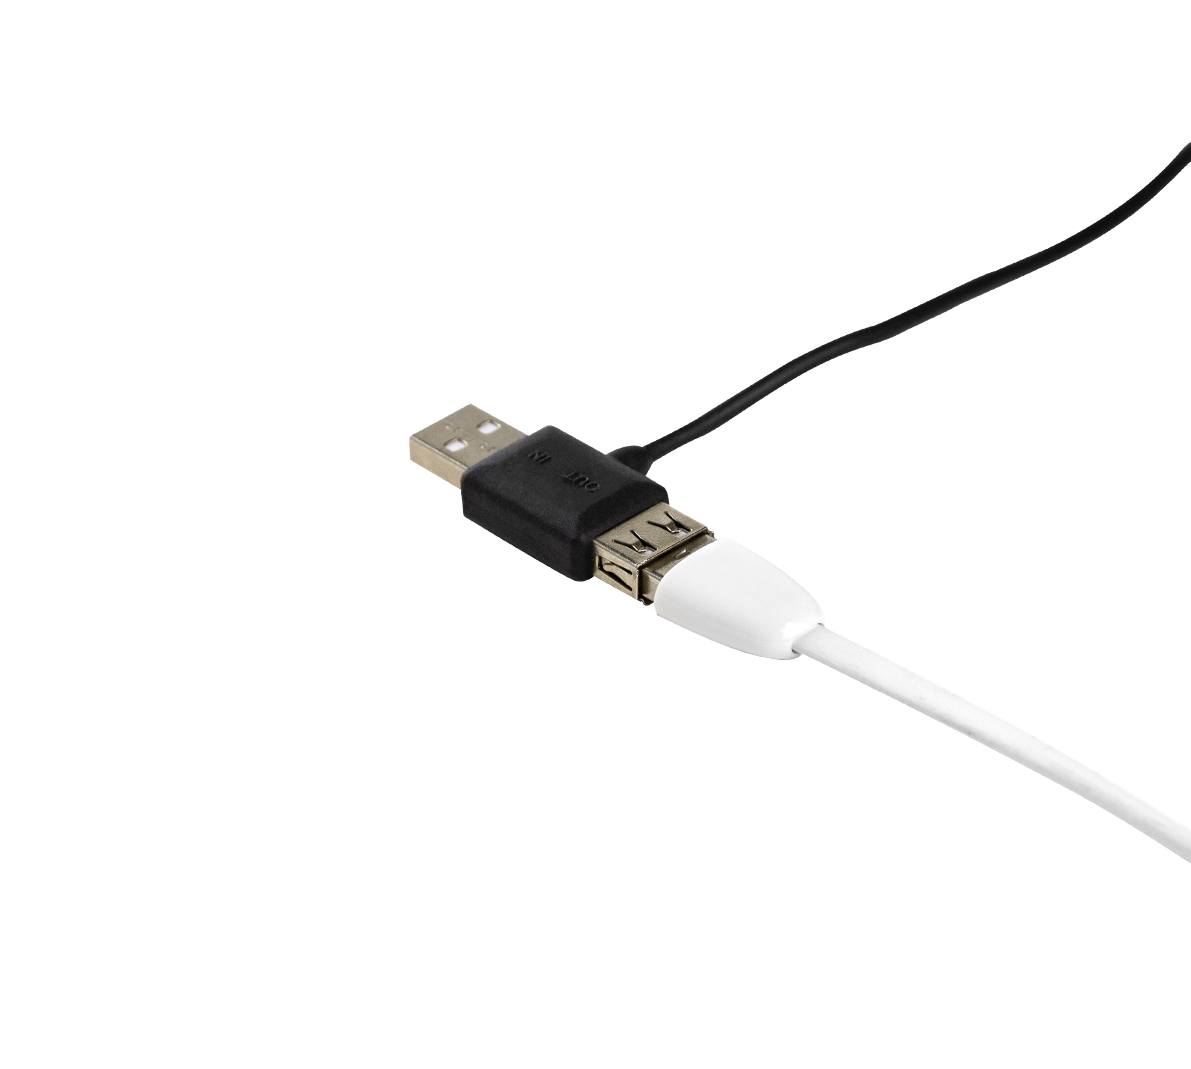
Plug your devices charging cable into the subwoofer charging cable socket labeled “OUT”
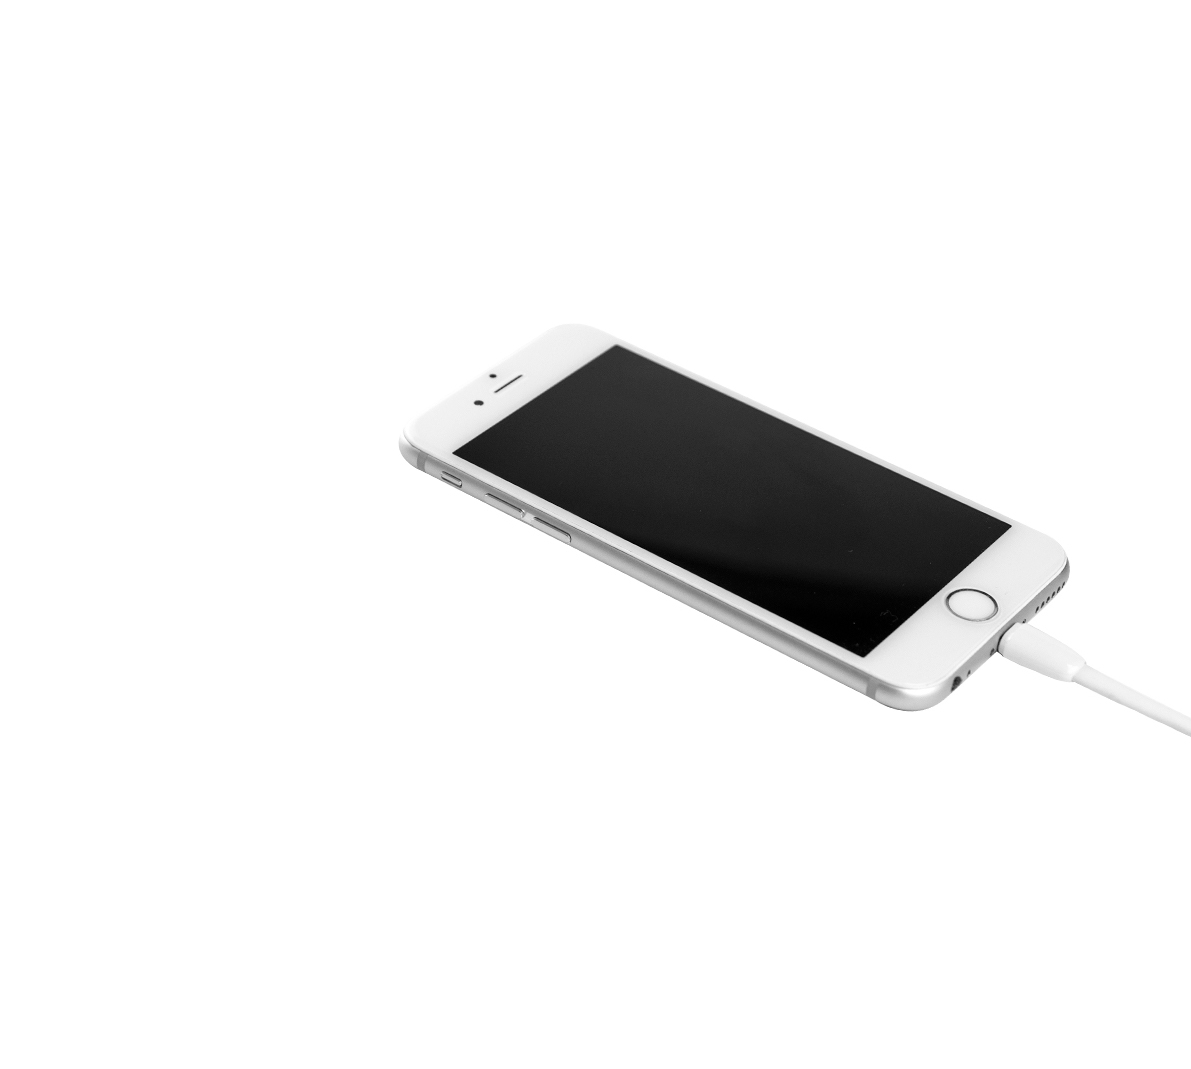
Plug your phones charging cable into the charging socket on your phone
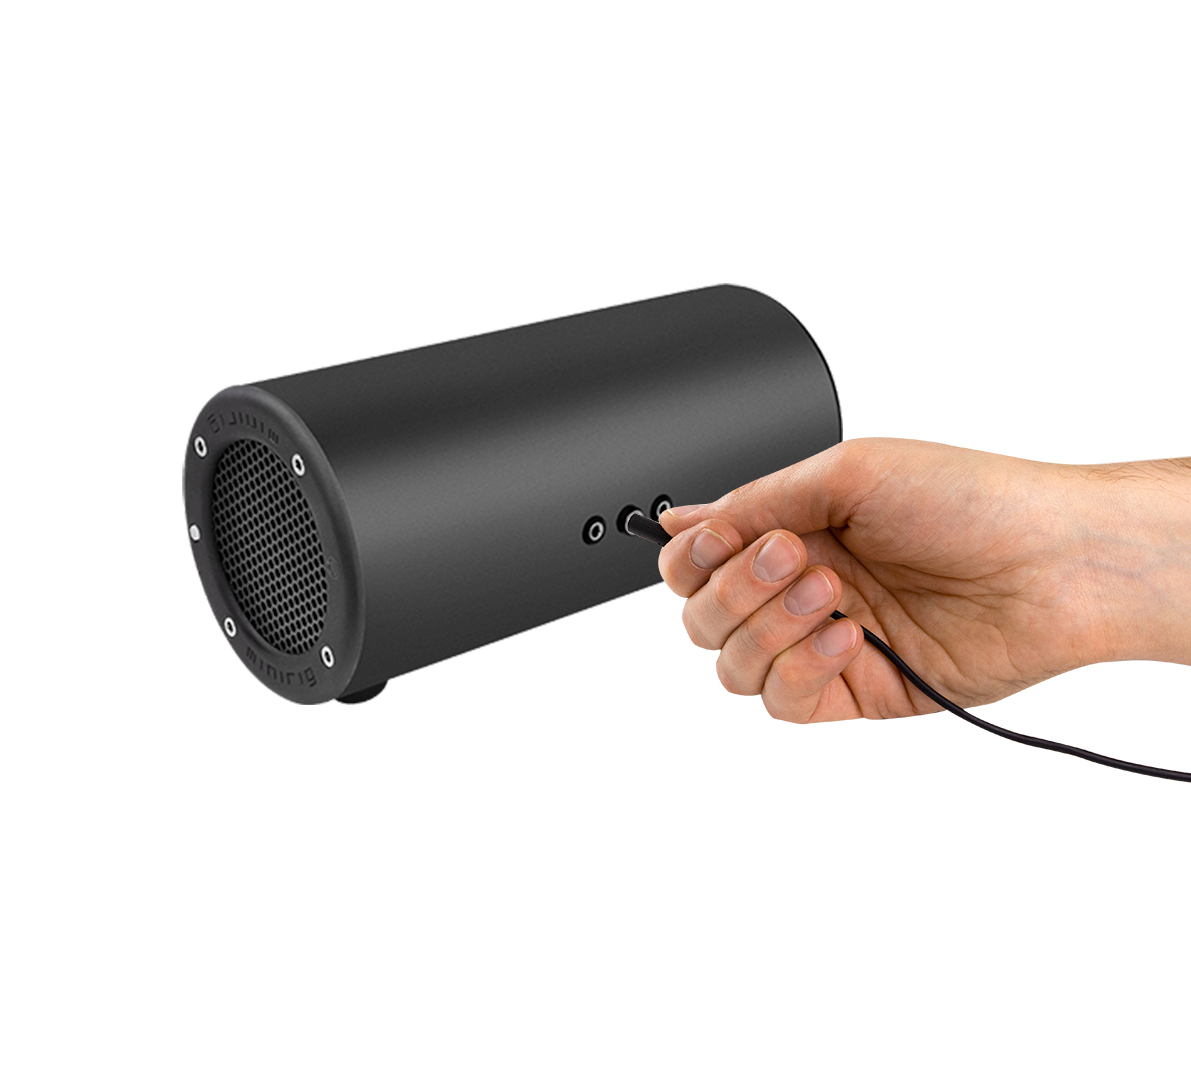
Plug the round barrel connector into the middle socket of the Subwoofer
Ensure the Subwoofer is turned OFF then press the button (do not hold) to activate power out

Turn all the Minirigs on in Bluetooth mode
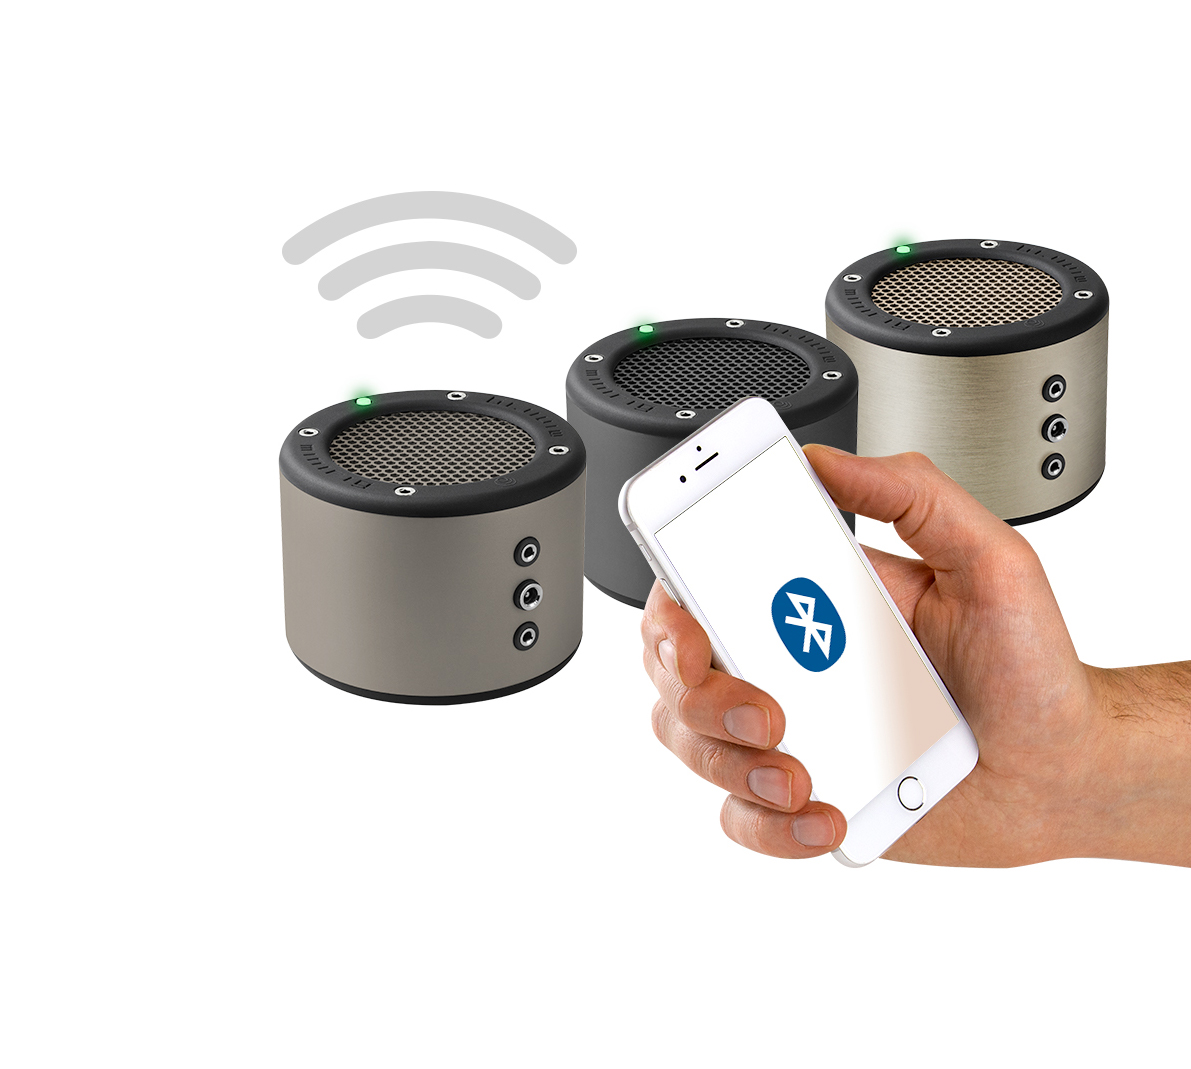
Connect to one and start playing music
Press the button FOUR times on that Minirig. The LED will flash BLUE/WHITE. This speaker will host the link up
Press the button on other Minirigs THREE times.The LED will flash GREEN/WHITE.
When they pair, you will hear a tone and they will start playing music
Connect your subwoofers to any of the speakers using the aux cable. We recommend starting with the master speaker.